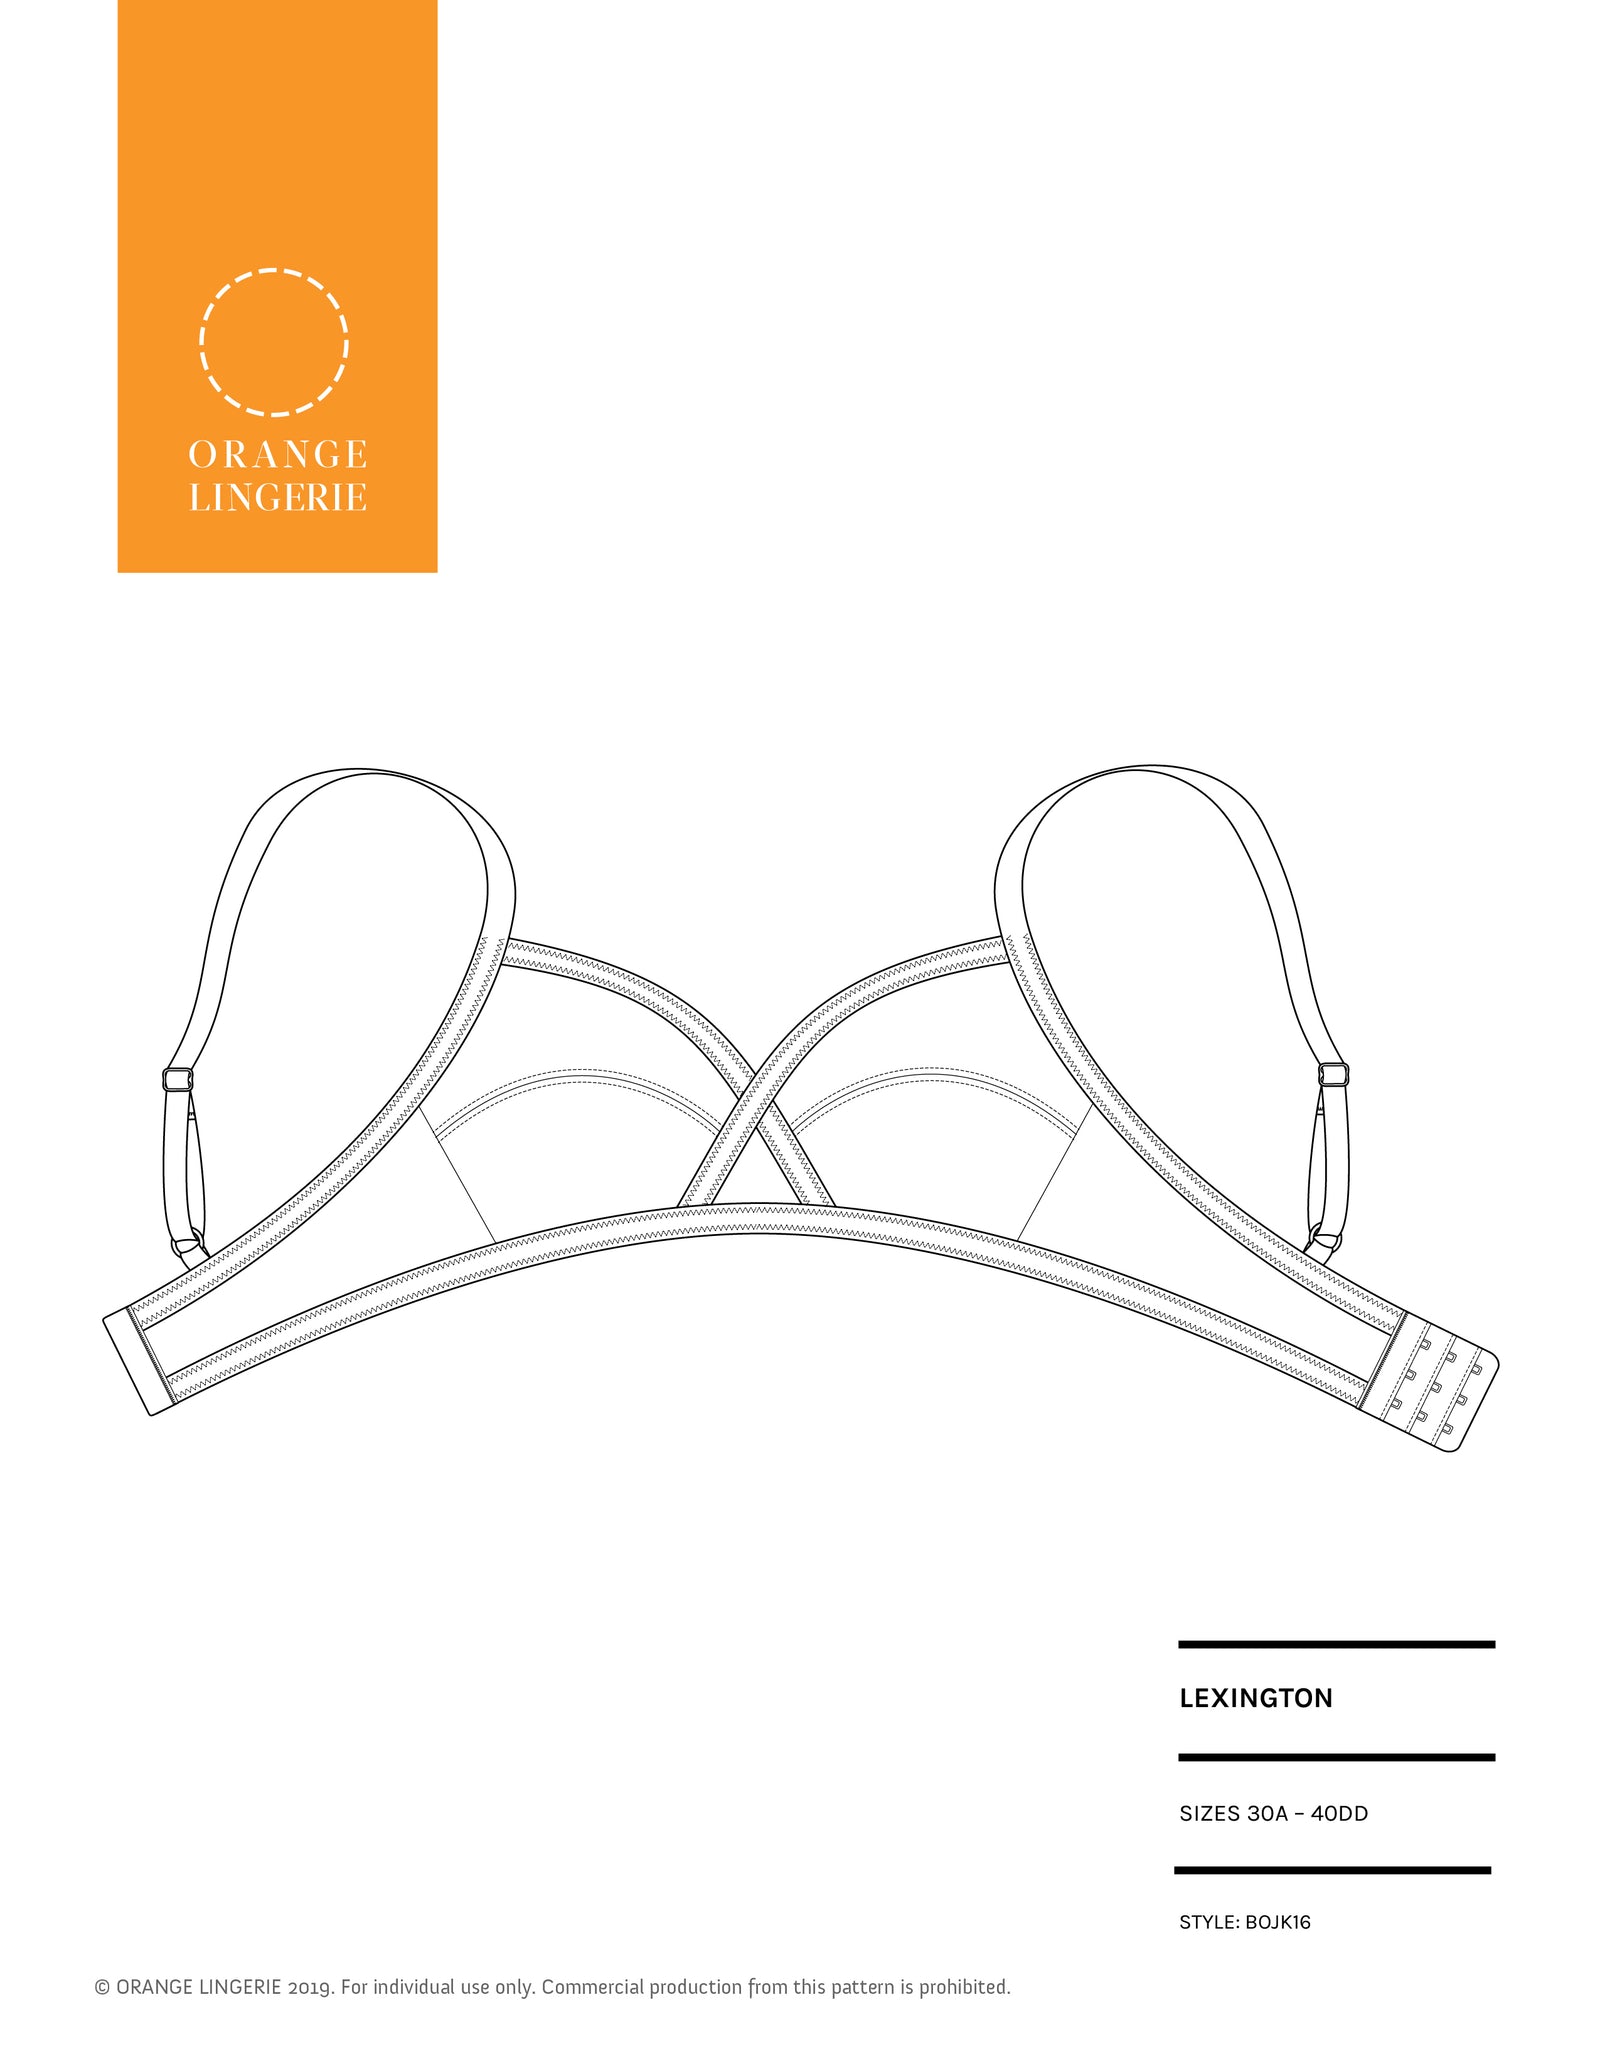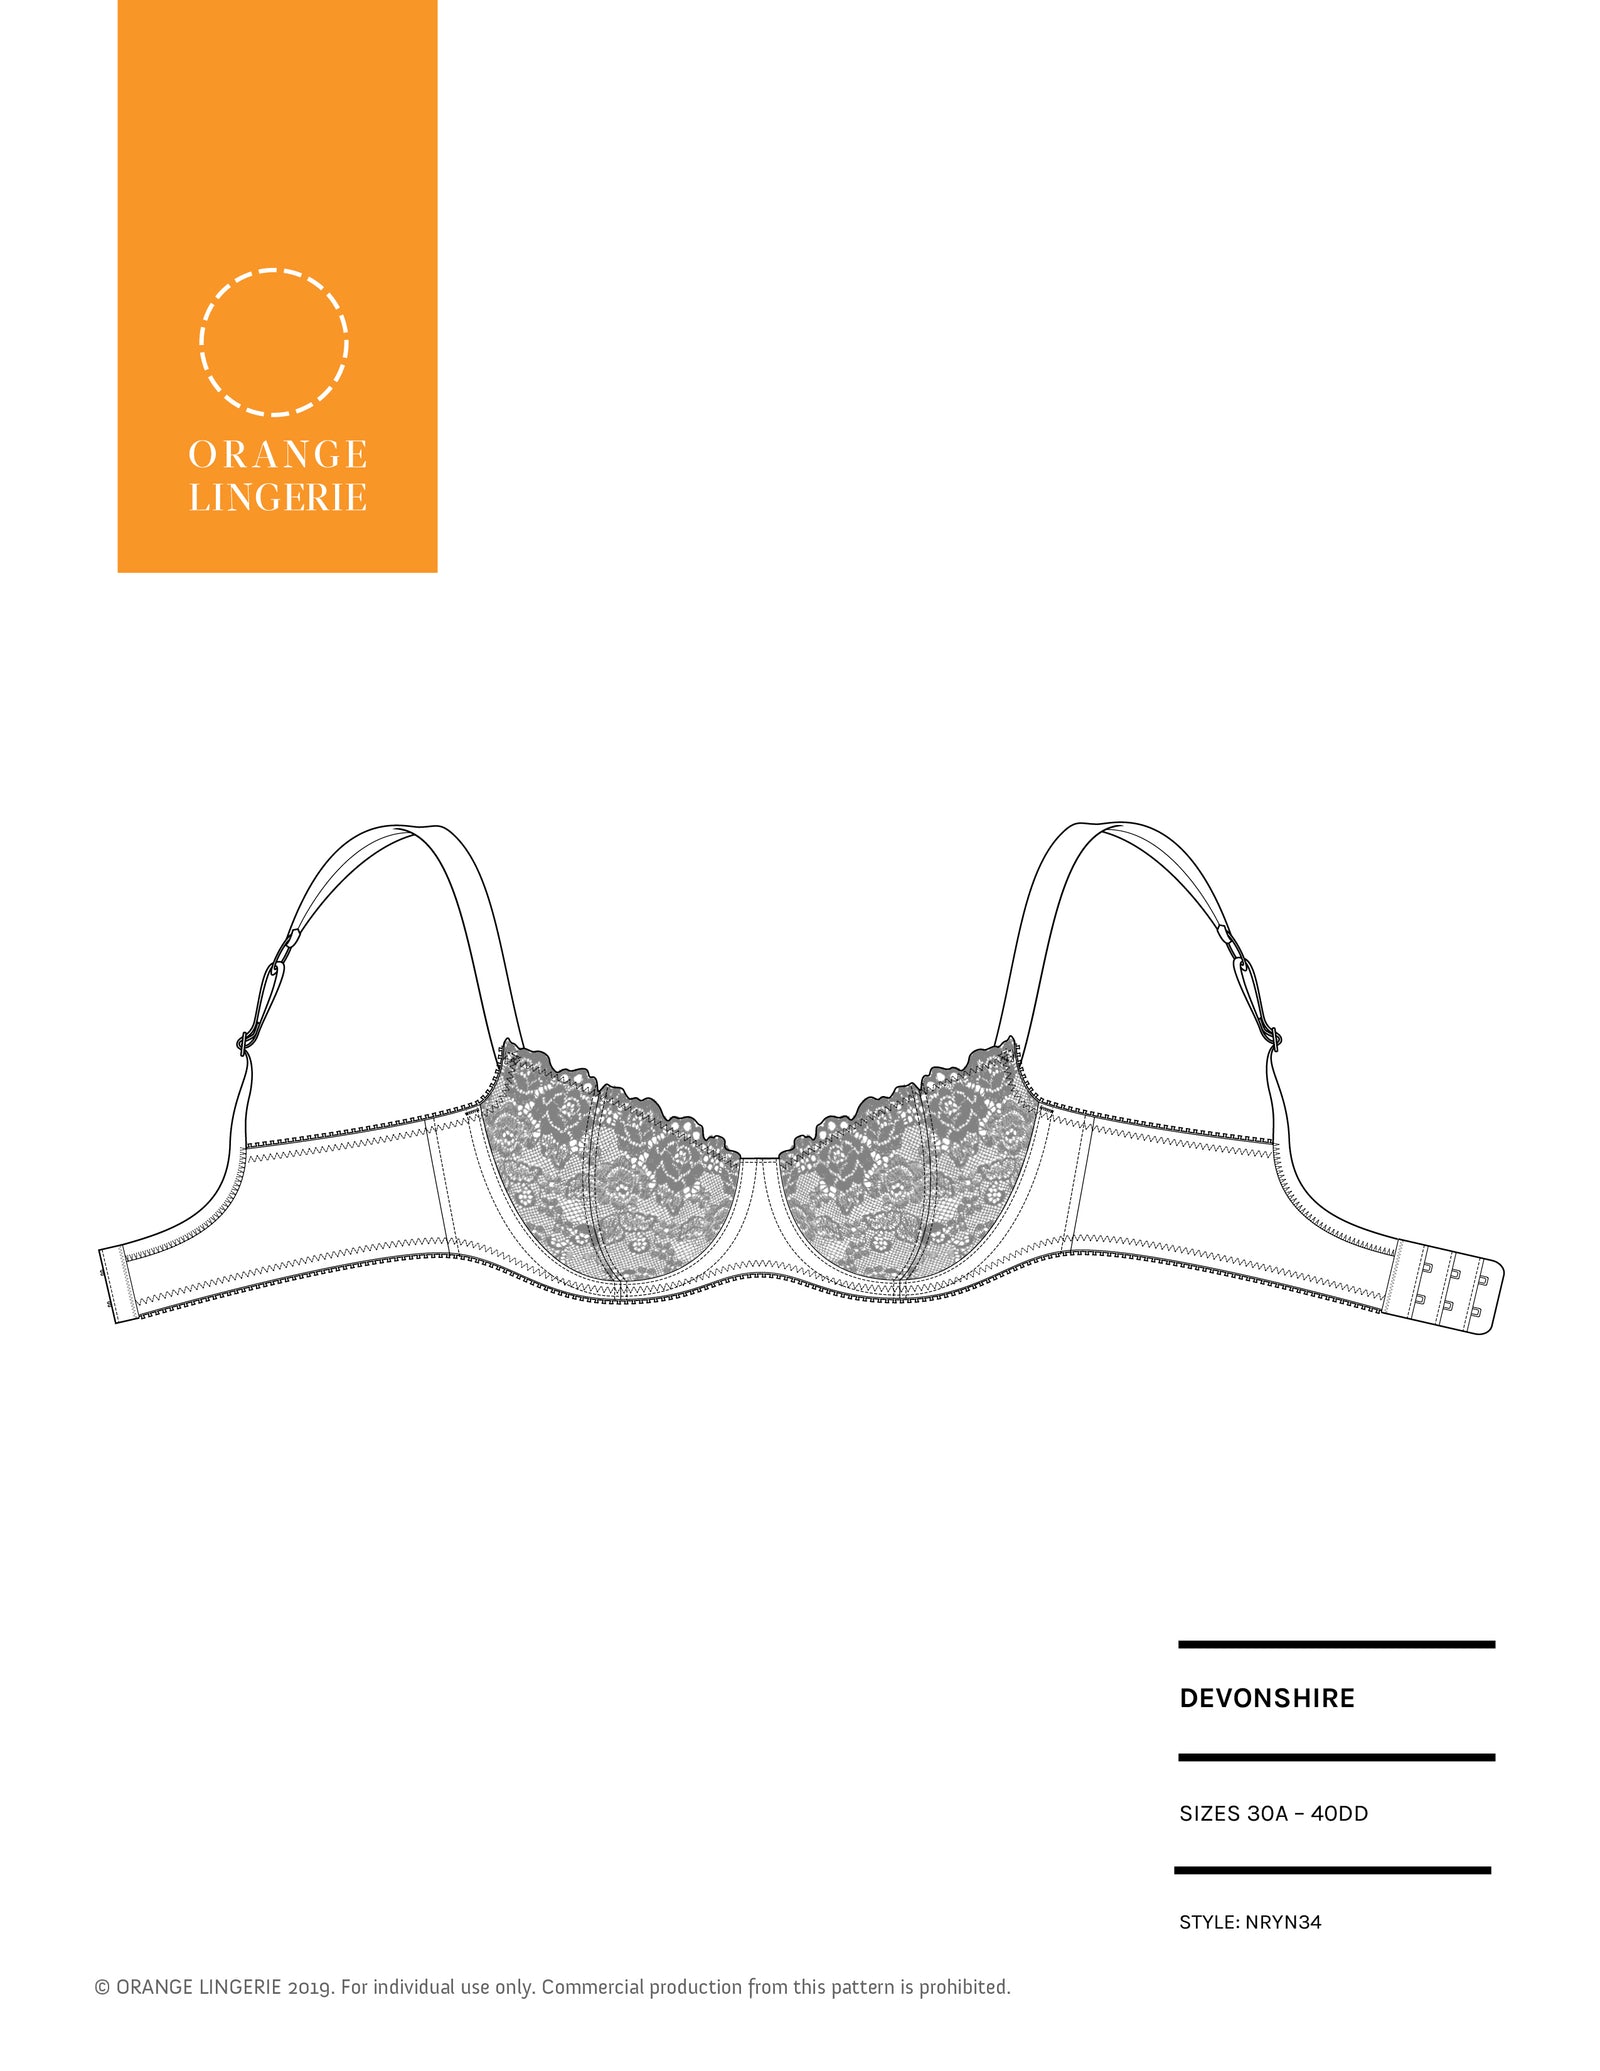
Unique to our bra styles, our new Devonshire bra has a two-piece vertically seamed cup to provide beautiful uplift. With this new style I thought it would be helpful to post the most common pattern alterations that you can use to customize the fit of your Devonshire.
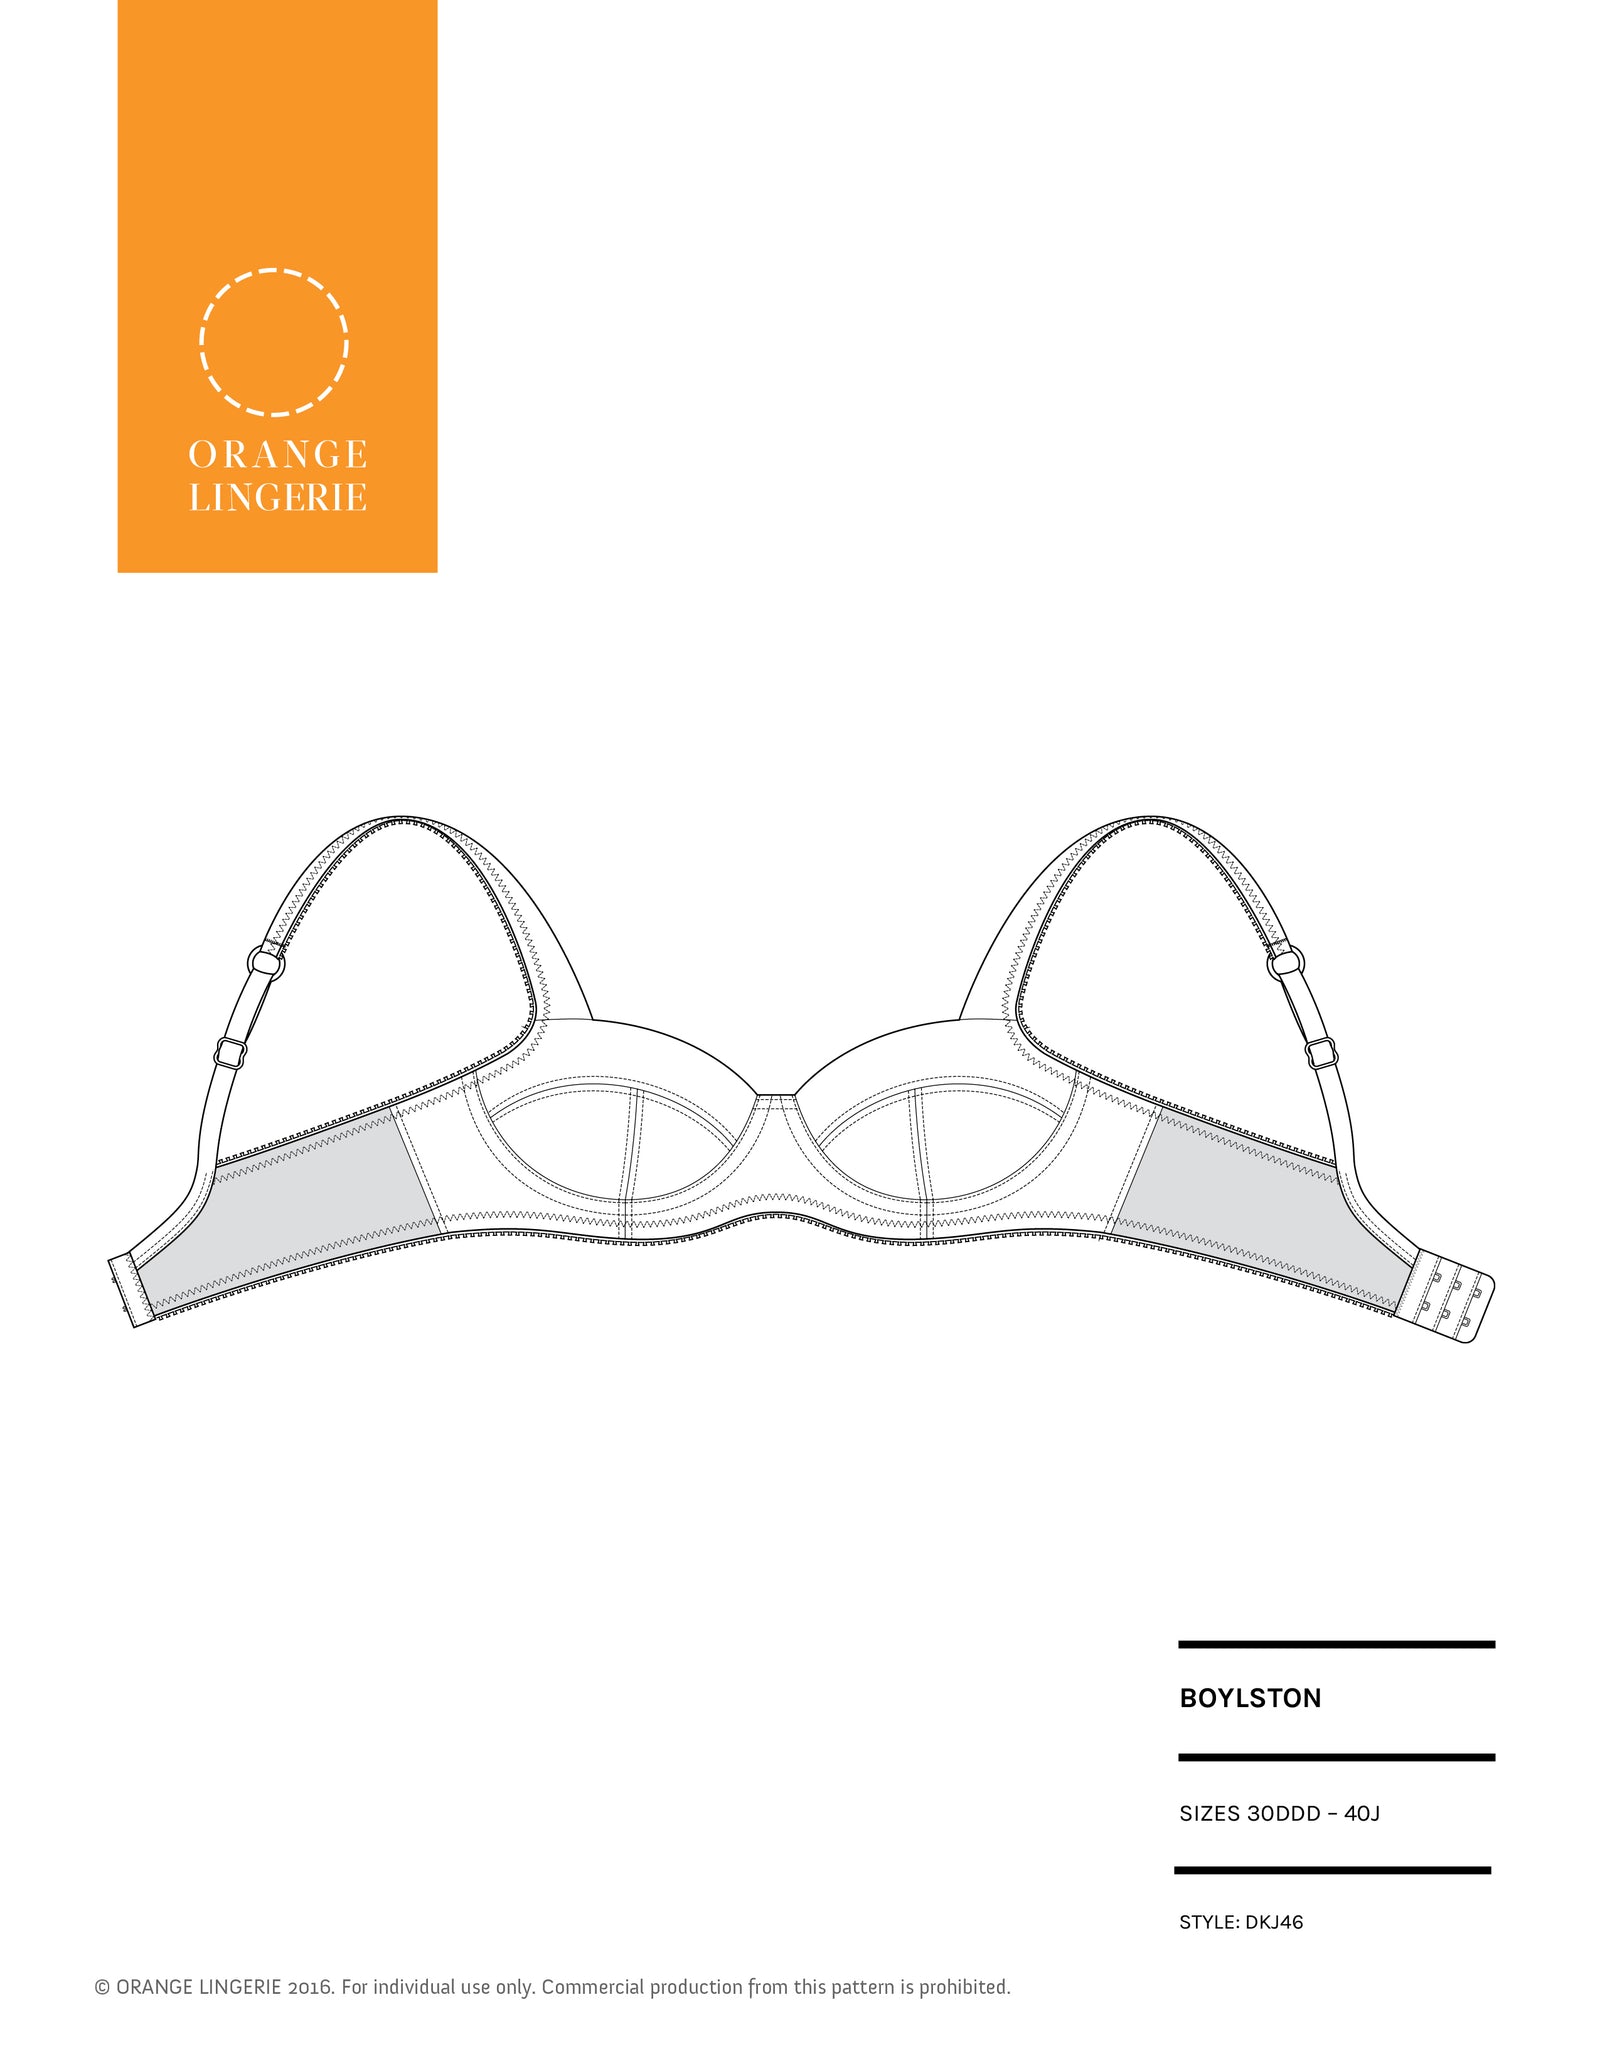
Like our Boylston bra, the Devonshire bra is a balconette style. For balconette styles, the straps are purposely positioned out fairly far on the shoulder. This strap placement is to allow for the display of the maximum décolletage.
Because all bodies are different, this strap placement does not work for every body. Luckily it is simple to move the straps in toward the center of the body. The easiest way to do this is move the strap in toward the center of the body, we will remove the excess material from the underarm area.
Start by measuring the amount that you want to move the straps in by pinching out unwanted length from the upper cup near the strap. Another method is to roll the strap over (right side of strap to right side of cup) and measure the amount of the material folded over the bra.
Next, lay out the outside cup, frame and band matching them at the seamlines and mark the amount that you are moving in the strap on the cup. Then draw a new trim line (the dotted line in the underarm area) that smoothly connects from your marked point to where the cup attaches to the frame. Finally, add back your cutting line (the solid line). The orange lines show the alteration.

I recommend laying out the pieces as shown above to be sure you have a nice smooth line all along the top of the bra.
Another possibility with a balconette bra is that the straps are in the right place, but the upper cup is too large, that is, the cup stands away from the body. To decrease the upper cup, we will remove excess fabric using the cup seam.
Start by determining how much you want to decrease the cup by pinching out the excess material along the top of the upper cup from your toile (a.k.a. muslin or mock up). I recommend pinching out a dart, not just a tuck at the top, so you can have greater accuracy on the decrease and how deep to extend the decrease down the cup.
Now, measure in ½ the amount of the decrease from the top of the cup at the center seam line on each cup piece and redraw that center cup seam on both cup pieces tapering the decrease to zero at the existing seam line. Finally, draw in your new seam allowances to get your new cutting line.

If you need to increase the upper cup, that is the upper cup is too tight on the body, you will add to the center seam of the upper cup.
Start by estimating the amount you want to increase to the upper cup. To estimate it is helpful to determine how far you would need to move the upper edge of the cup in from the underarm for the fit to be smooth along the upper cup.
To make the alteration, start by taping the cup pattern pieces to some tracing or pattern paper then measure out ½ the amount of the increase from the top of the upper cup at the center seam line on each cup piece and redraw those center cup seams, tapering the decrease to zero at the existing seam line. Finish by adding in your new seam allowances to get your new cutting line.

Want more upper cup adjustments and strap moving tutorials!? We have got you covered! Here is our tutorial for moving the Marlborough straps, our tutorial for moving the Boylston straps, and our tutorial on upper cup adjustments.
Happy bra making!!


