Sometimes you want to use a lightweight cut and sew foam for bra making to add some extra support and create an extra smooth profile. Since the Fenway bra is a frameless (partial band) style, and often has a sheer contrast upper cup, the procedure is a bit different from what you are used to. It is also a lot of fun to sew up!
This tutorial will show you the simplest method to add foam to the Fenway bra. This method avoids folding foam which is a big no-no in bra making. I also think this method is really cool since the foam cup remains free floating in the bra. Let me show you what I mean!
Making Foam Cups
To keep the sheer upper cup, foam will only be added to the lower cup. The first step is to create pattern pieces for foam lower cups by removing all the seam allowances as shown by the orange lines below. This is super easy with the Fenway bra sewing pattern since all the seam lines are clearly marked. Be sure to transfer the notch markings so you can be sure to get your foam lower cup pieces aligned properly throughout the construction process.

Sewing the Foam Cups
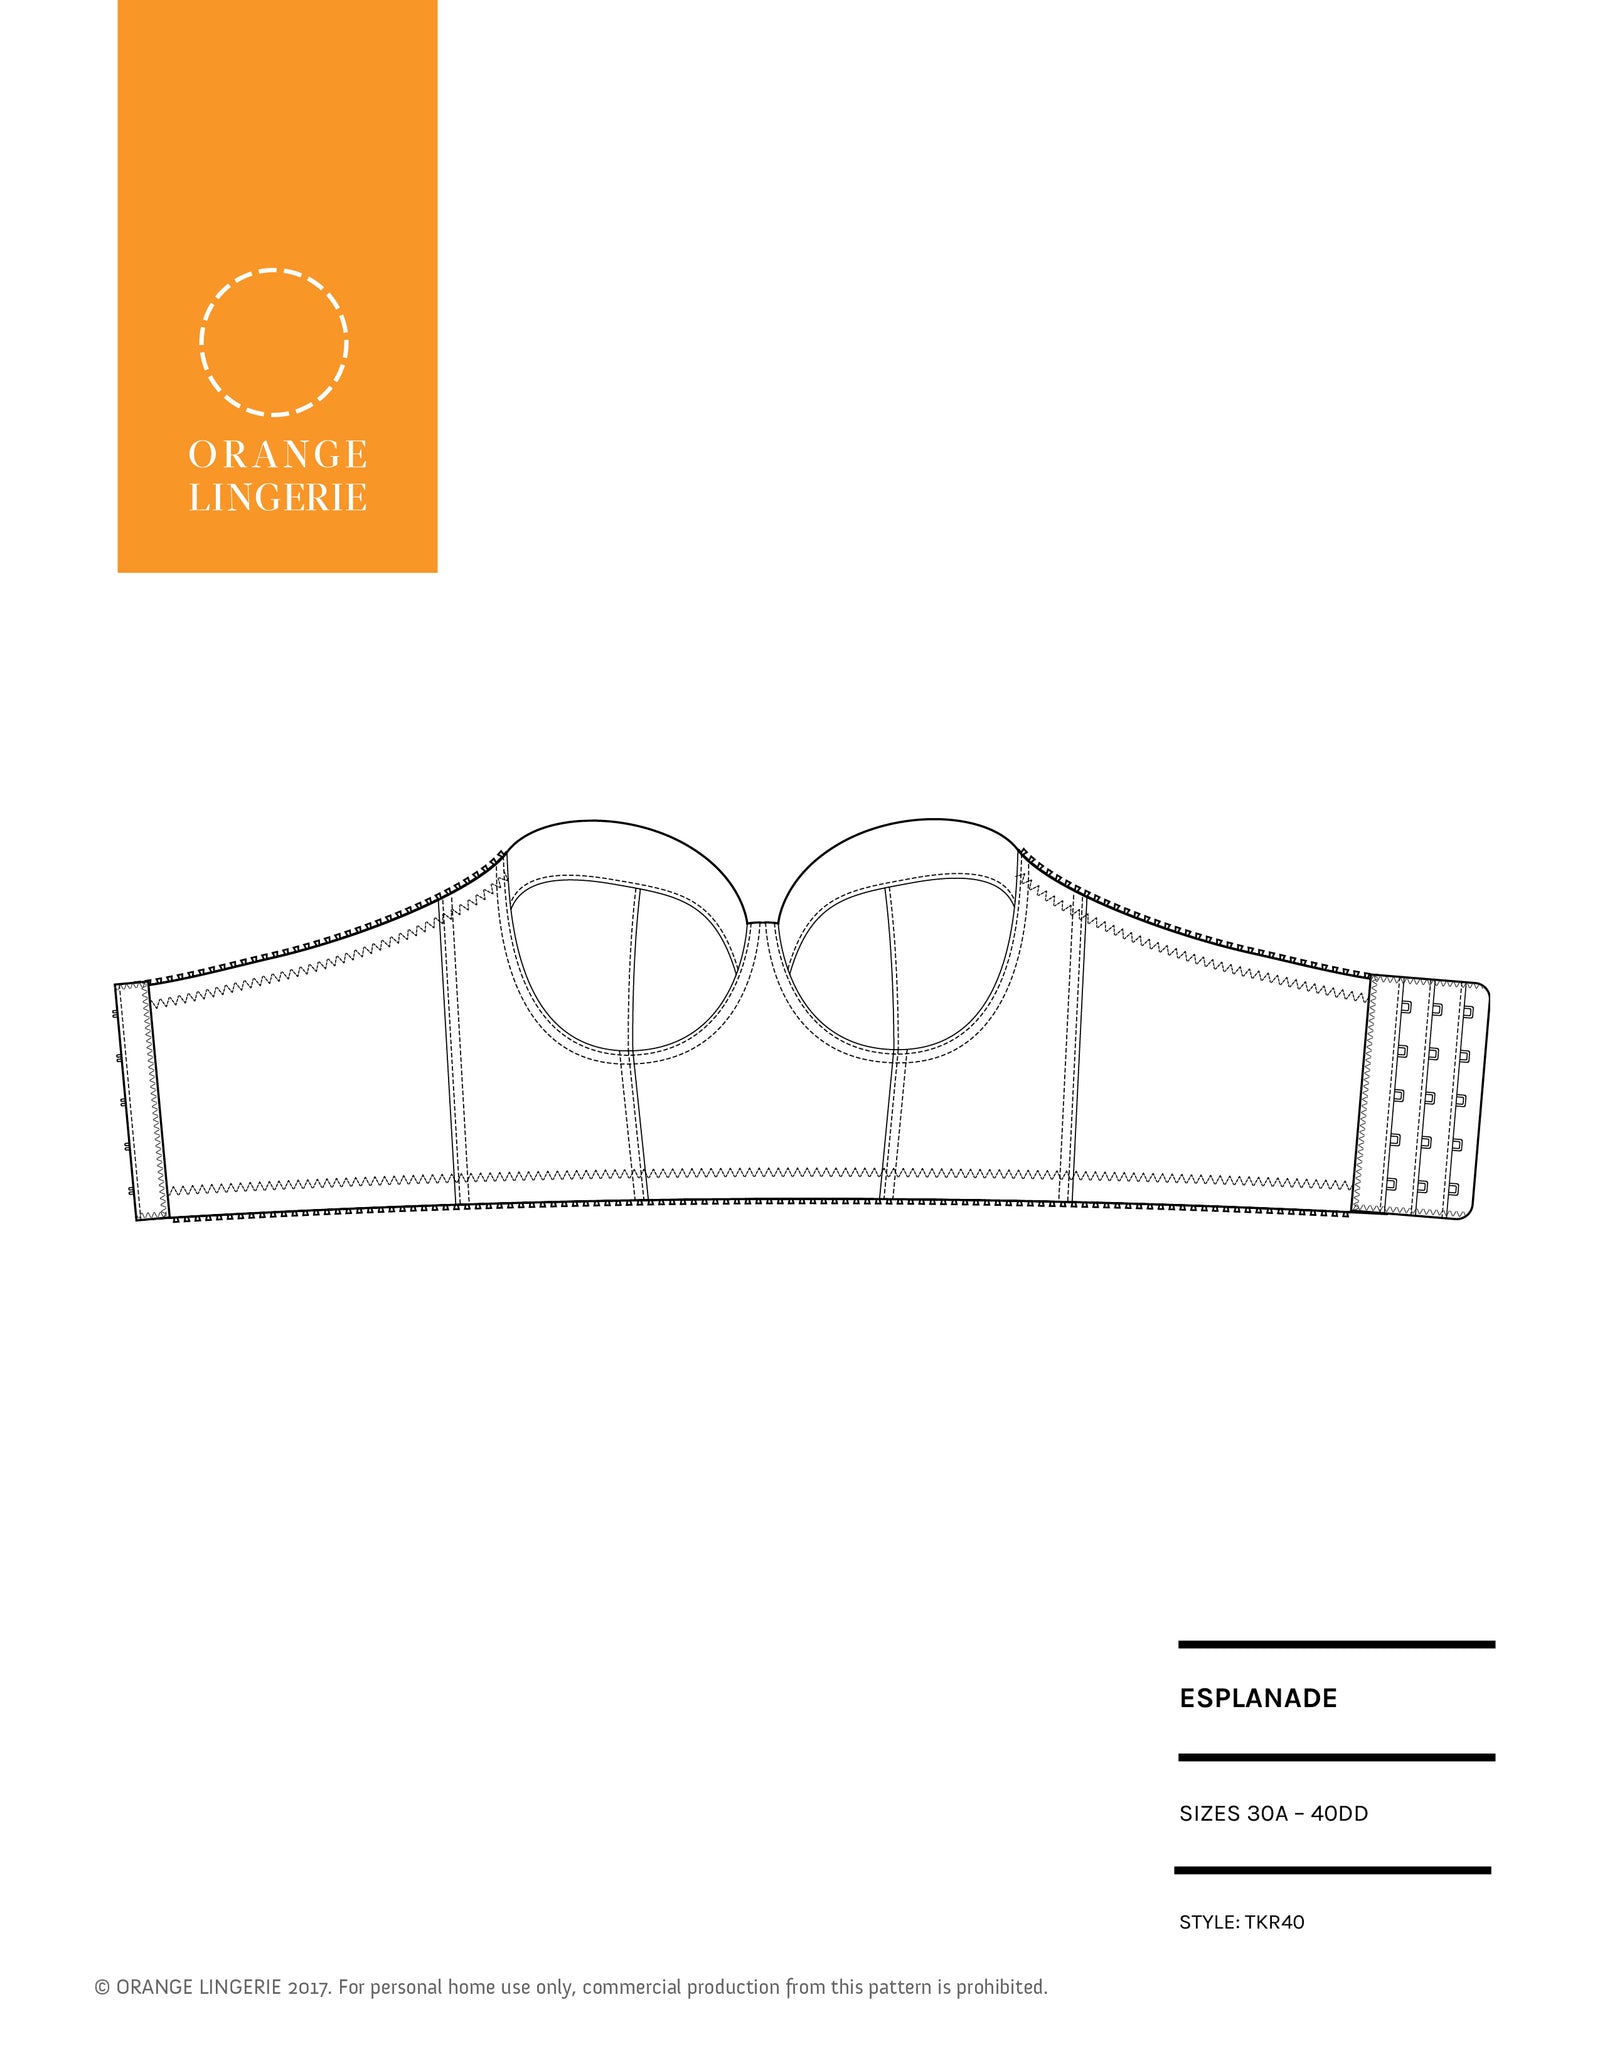
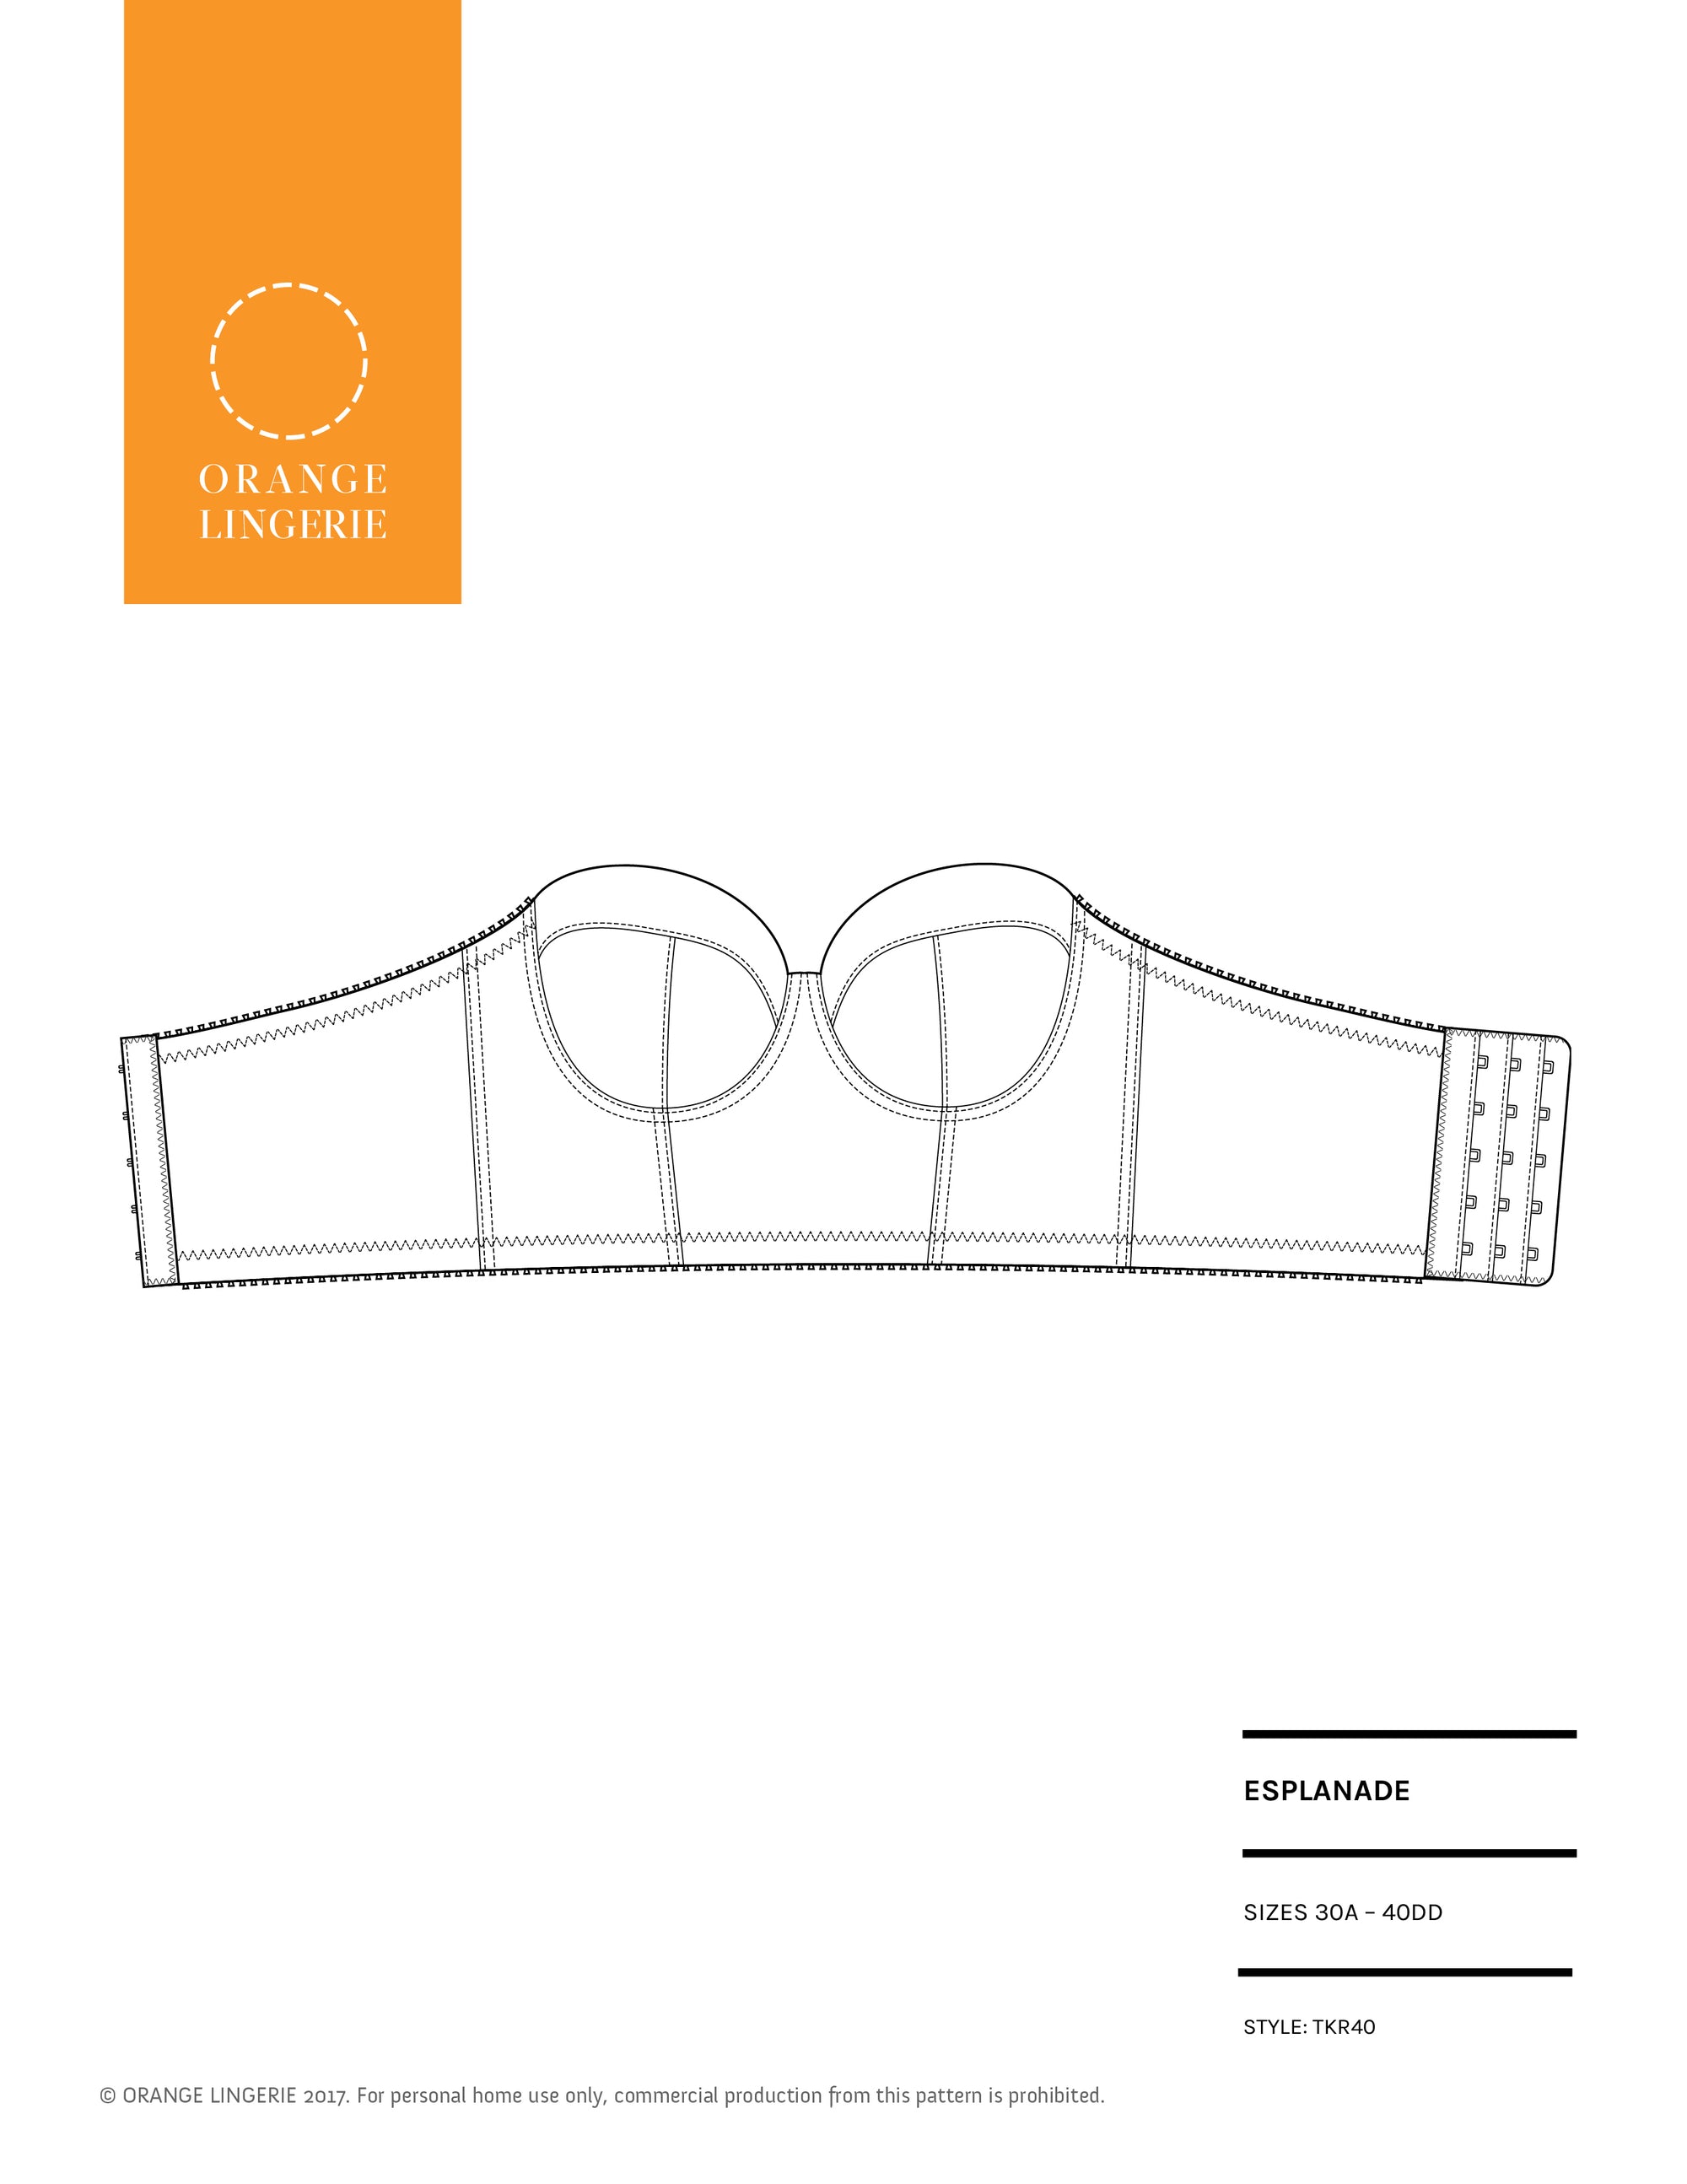
If you have made my Esplanade bra sewing pattern or read my article in Threads magazine, you know that to sew foam you butt the edges of the pieces together and use zigzag stitch to join the pieces. I like to use a 4.0mm wide 3-step zigzag stitch.

While you could cover that zigzag seam with tricot tape, I tend to leave it as is since adding any material to the foam means adding some bulk and/or potential body irritation. I also like to keep construction as simple as possible!
You will want to finish the upper edge of the lower cup with either a 3-step zigzag or overlock stitch. I usually just run that upper edge through my overlock machine. This not only finishes the upper edge of the cup but it also serves to flatten the area to eliminate any potential foam bump in the finished garment.

Adding Foam Cups to the Bra
Assemble the bra as usual up to the point where you are ready to topstitch the underwire casing.
Before turning the underwire casing to the inside of the cups, align the foam lower cup with the lower cup area of the fabric cup. Work your way around the upper cup to lower cup seam line, aligning the lower cup seams. You can baste the foam in place or use pins on the right side of the bra.
Remember, you removed the seam allowances of the foam cup so with accurate cutting and sewing the foam will fit precisely below the lower cup to upper cup seam and above the line where the casing was sewn on to the cup. If this is not the case for you, trim the foam along the lower edge so it will not be folded when the casing is topstitched into place but will be covered by the folded over casing.

Yet another way you can sew up the Fenway bra! Have fun!