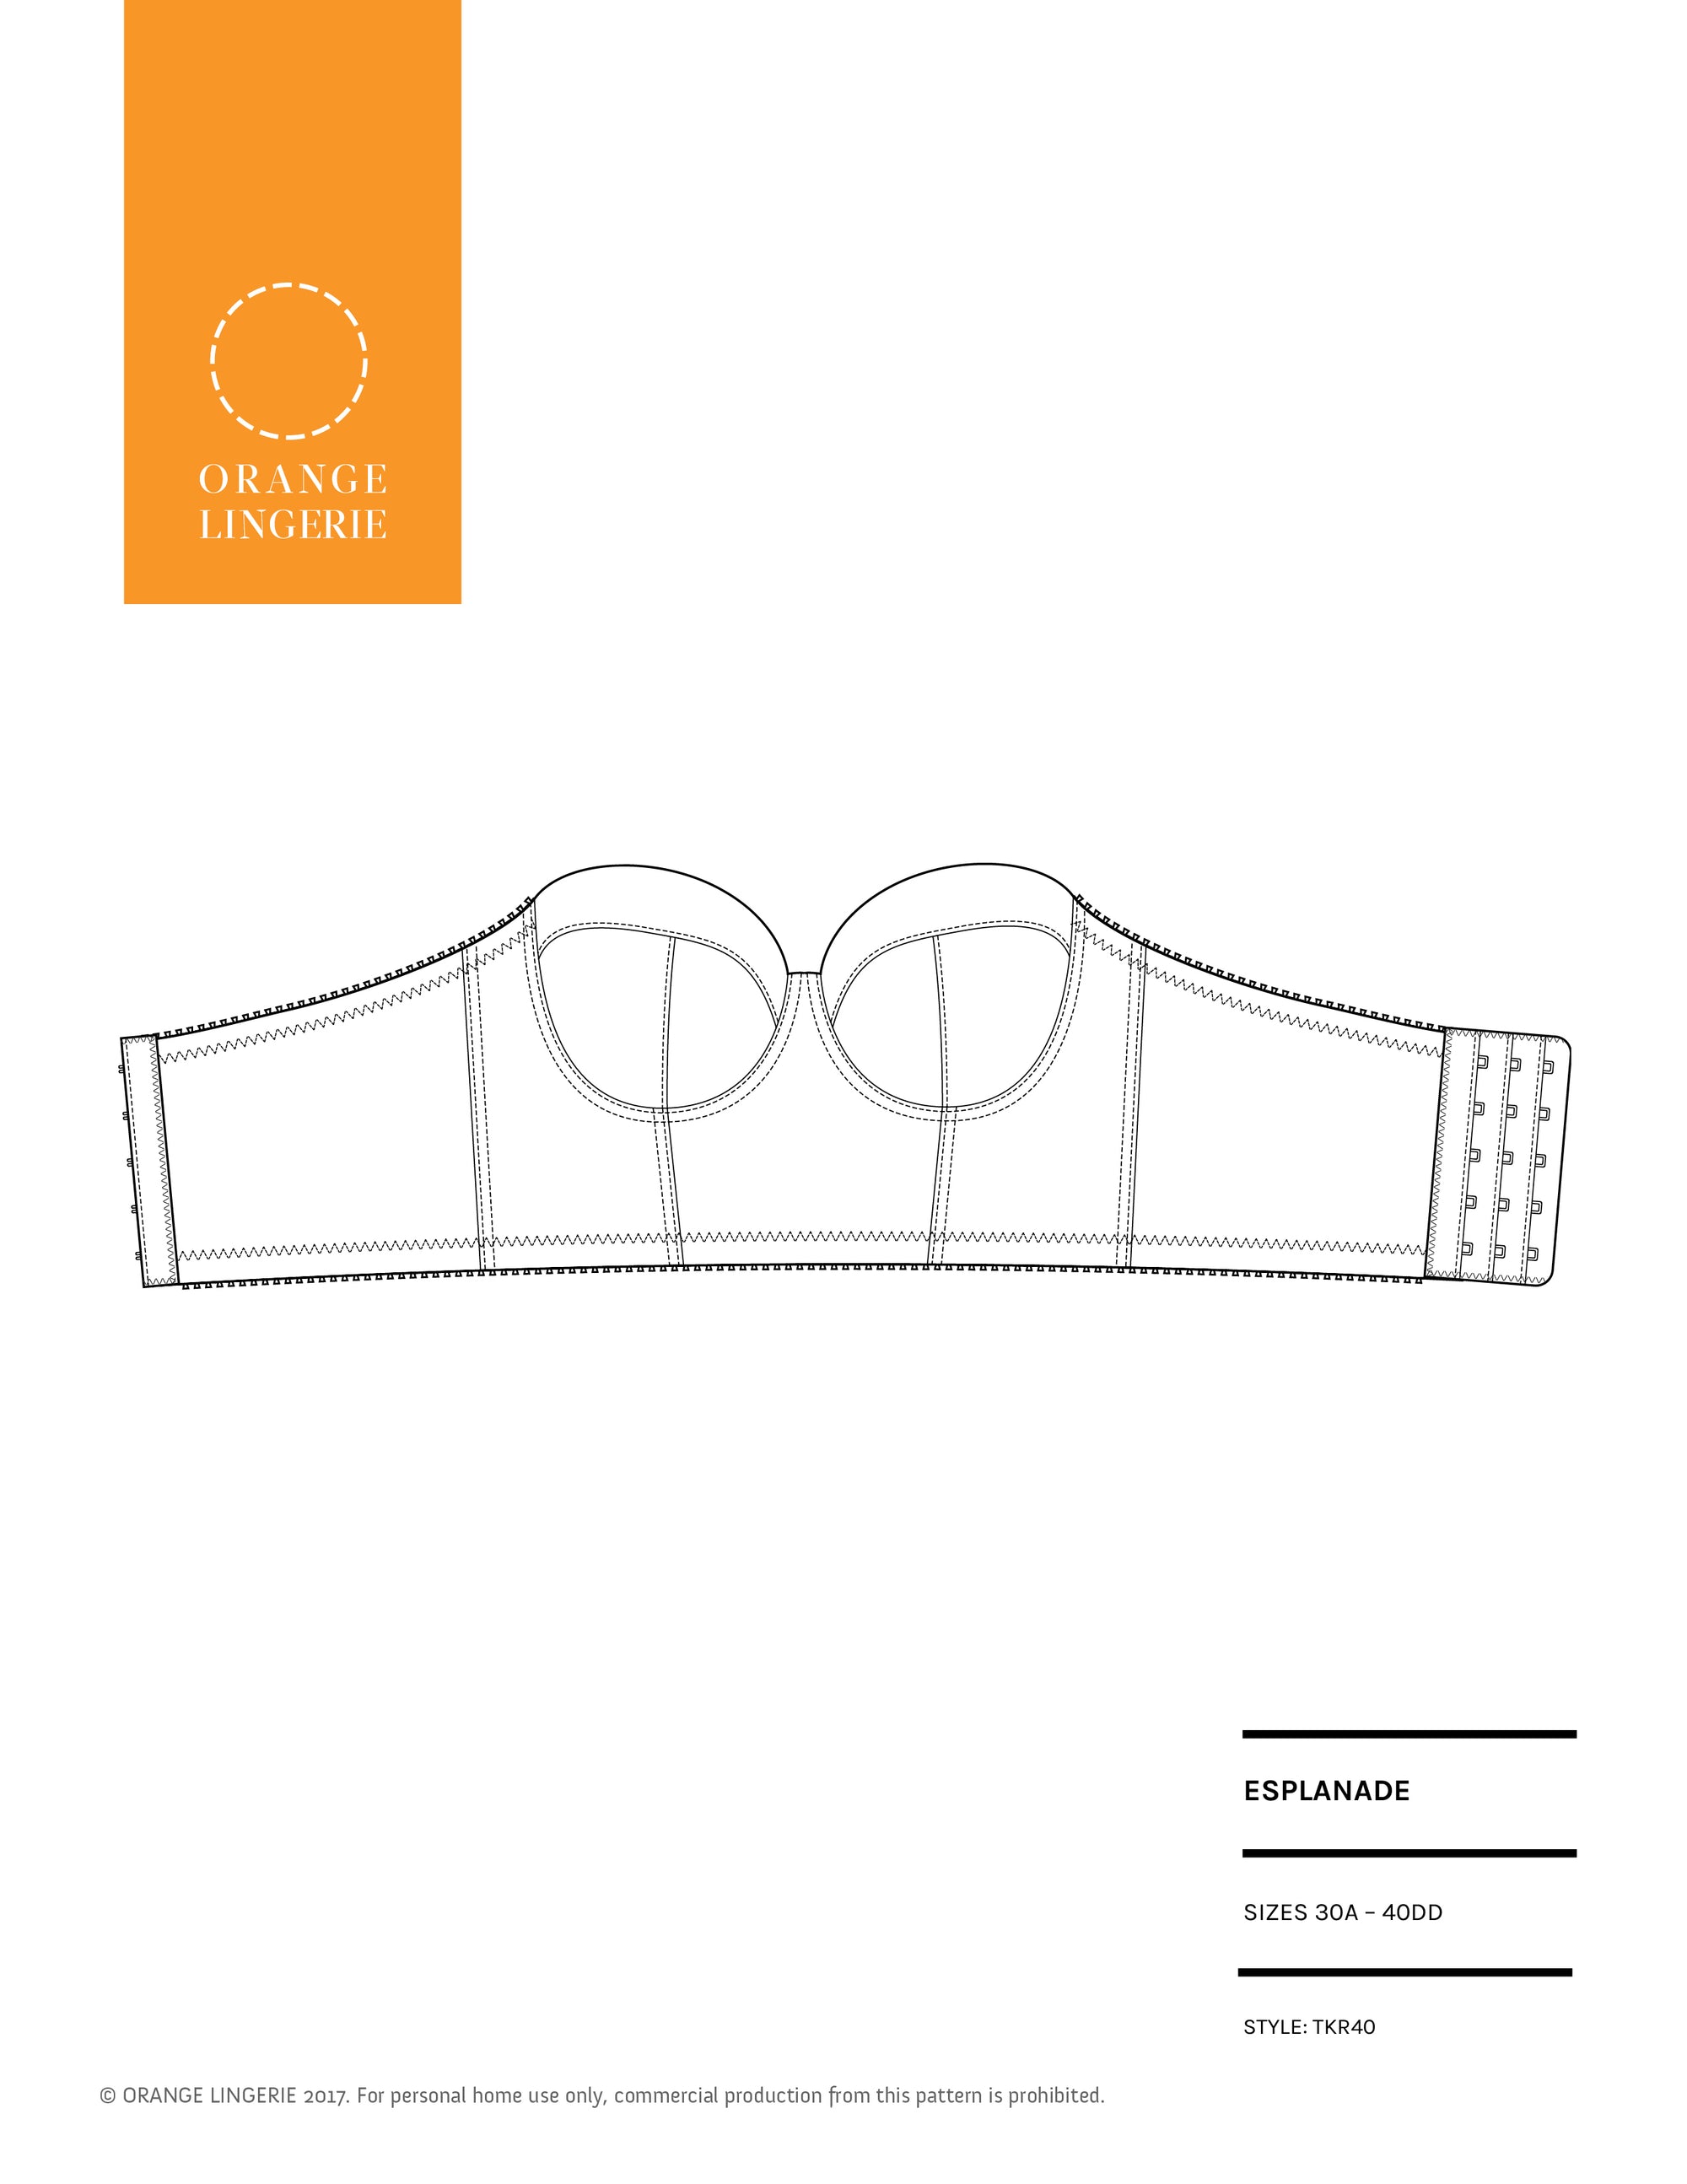
Since the release of the Esplanade bra, many of you have asked whether it is possible to add straps to this design. Well, the answer is a definitive YES! Over the next two posts I am going to show you how to make detachable bra straps so you can still get the benefits of a strapless bra with the flexibility of adding straps when you want them. The beauty of detachable straps is that you can have different straps for different looks, crisscross them in the back or, in the case of a strapless bra, remove them entirely!
This tutorial will be posted in two parts. This post will tell you how to make your straps and prep your bra pattern and the next post will tell you how to sew the strap attachments on to the bra.
Materials
To make detachable straps you will need the following:
- Two straps (how-to details below)
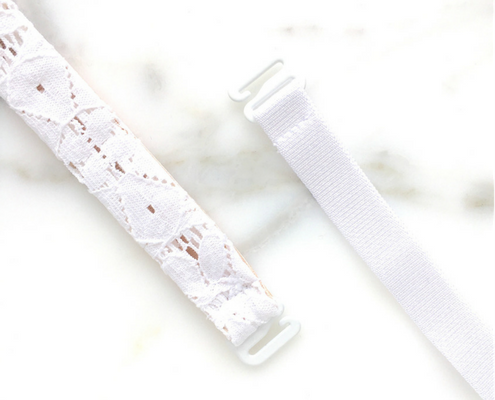
- 4 G-hooks, the size of your desired strap width (pictured below)
- ½ to 1 yard of strap elastic the same width as the closed portion of the G-hook
- 2 rings and 2 sliders the same width as the closed portion of the G-hook
- 4 short lengths of grosgrain ribbon or lightweight twill tape, the width equal to the hook portion of the G-hook
I recommend you start by deciding what size G-hooks you will be using since that drives the specifications of rest of the materials on the list. Note when you are shopping that G-hooks may also be called “swim suit hooks”.

Make Straps
You can easily make a strap using all strap elastic or have a fabric strap in the front and an adjustable elastic strap in the back. For the Esplanade bra I prefer to have a coordinating fabric strap visible on the front of the bra.
For a fabric strap, you can draft pattern by drawing a simple rectangle that is 11″ long. The width of the rectangle is two times the desired finished strap width plus two times the seam allowance. When determining the finished width of your strap keep in mind that the final sewn strap must be equal to the width of the closed loop portion of the G-hook so it will properly attach to the connector.
As an example, if you want a ½” strap, the width of the strap rectangle is calculated as follows:
- Final strap width = ½”
- Starting strap pattern width calculation = 2 x ½” = 1”
- Strap seam allowances = 2 x ¼”= ½”
- Final strap pattern width = 1” + ½”= 1½”
Below is what the final strap pattern looks like with ¼” seam lines marked on the long side and a ½” allowance on each short side to fold over a connector. Clearly this is not to scale so be sure to draw your own!
Next, cut two straps using the pattern drafted above from a low to no movement fabric with any movement going across the width of the strap. Be sure to stabilize the straps if your fabric is stretchy.
To construct the straps, fold each strap in half and sew the rectangle right sides together along the long edge using a ¼” seam allowance, turn right side out and press the seam line to one side.
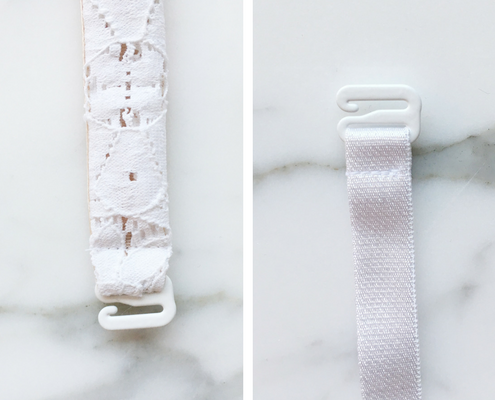
For the back elastic portion of the strap (I strongly recommend adjustable bra straps!), cut two 8” lengths of strap elastic and assemble with rings and sliders as usual (pictured below).

To finish, thread one end of the fabric strap through the ring of the elastic portion of the strap and secure. Then attach a G-hook to each end of the strap. Be sure the G-hooks on each end of the strap are hooking the same way.
If you want a fabric strap that is wider than what your G-hooks allow (as I did below) you will need to taper the ends of your strap pattern so it fits nicely on the G-hook. With this approach you also need to be conscious that the fabric strap must fit nicely over the ring attached to the elastic portion of the strap. I don’t recommend trying to make the finished strap width more than ¼” larger than the G-hook or ring opening!
If you opt for all elastic straps (no fabric front strap), cut two 18” lengths of strap elastic and substitute G-hooks for the rings when you assemble the straps.
Determine Strap Placement
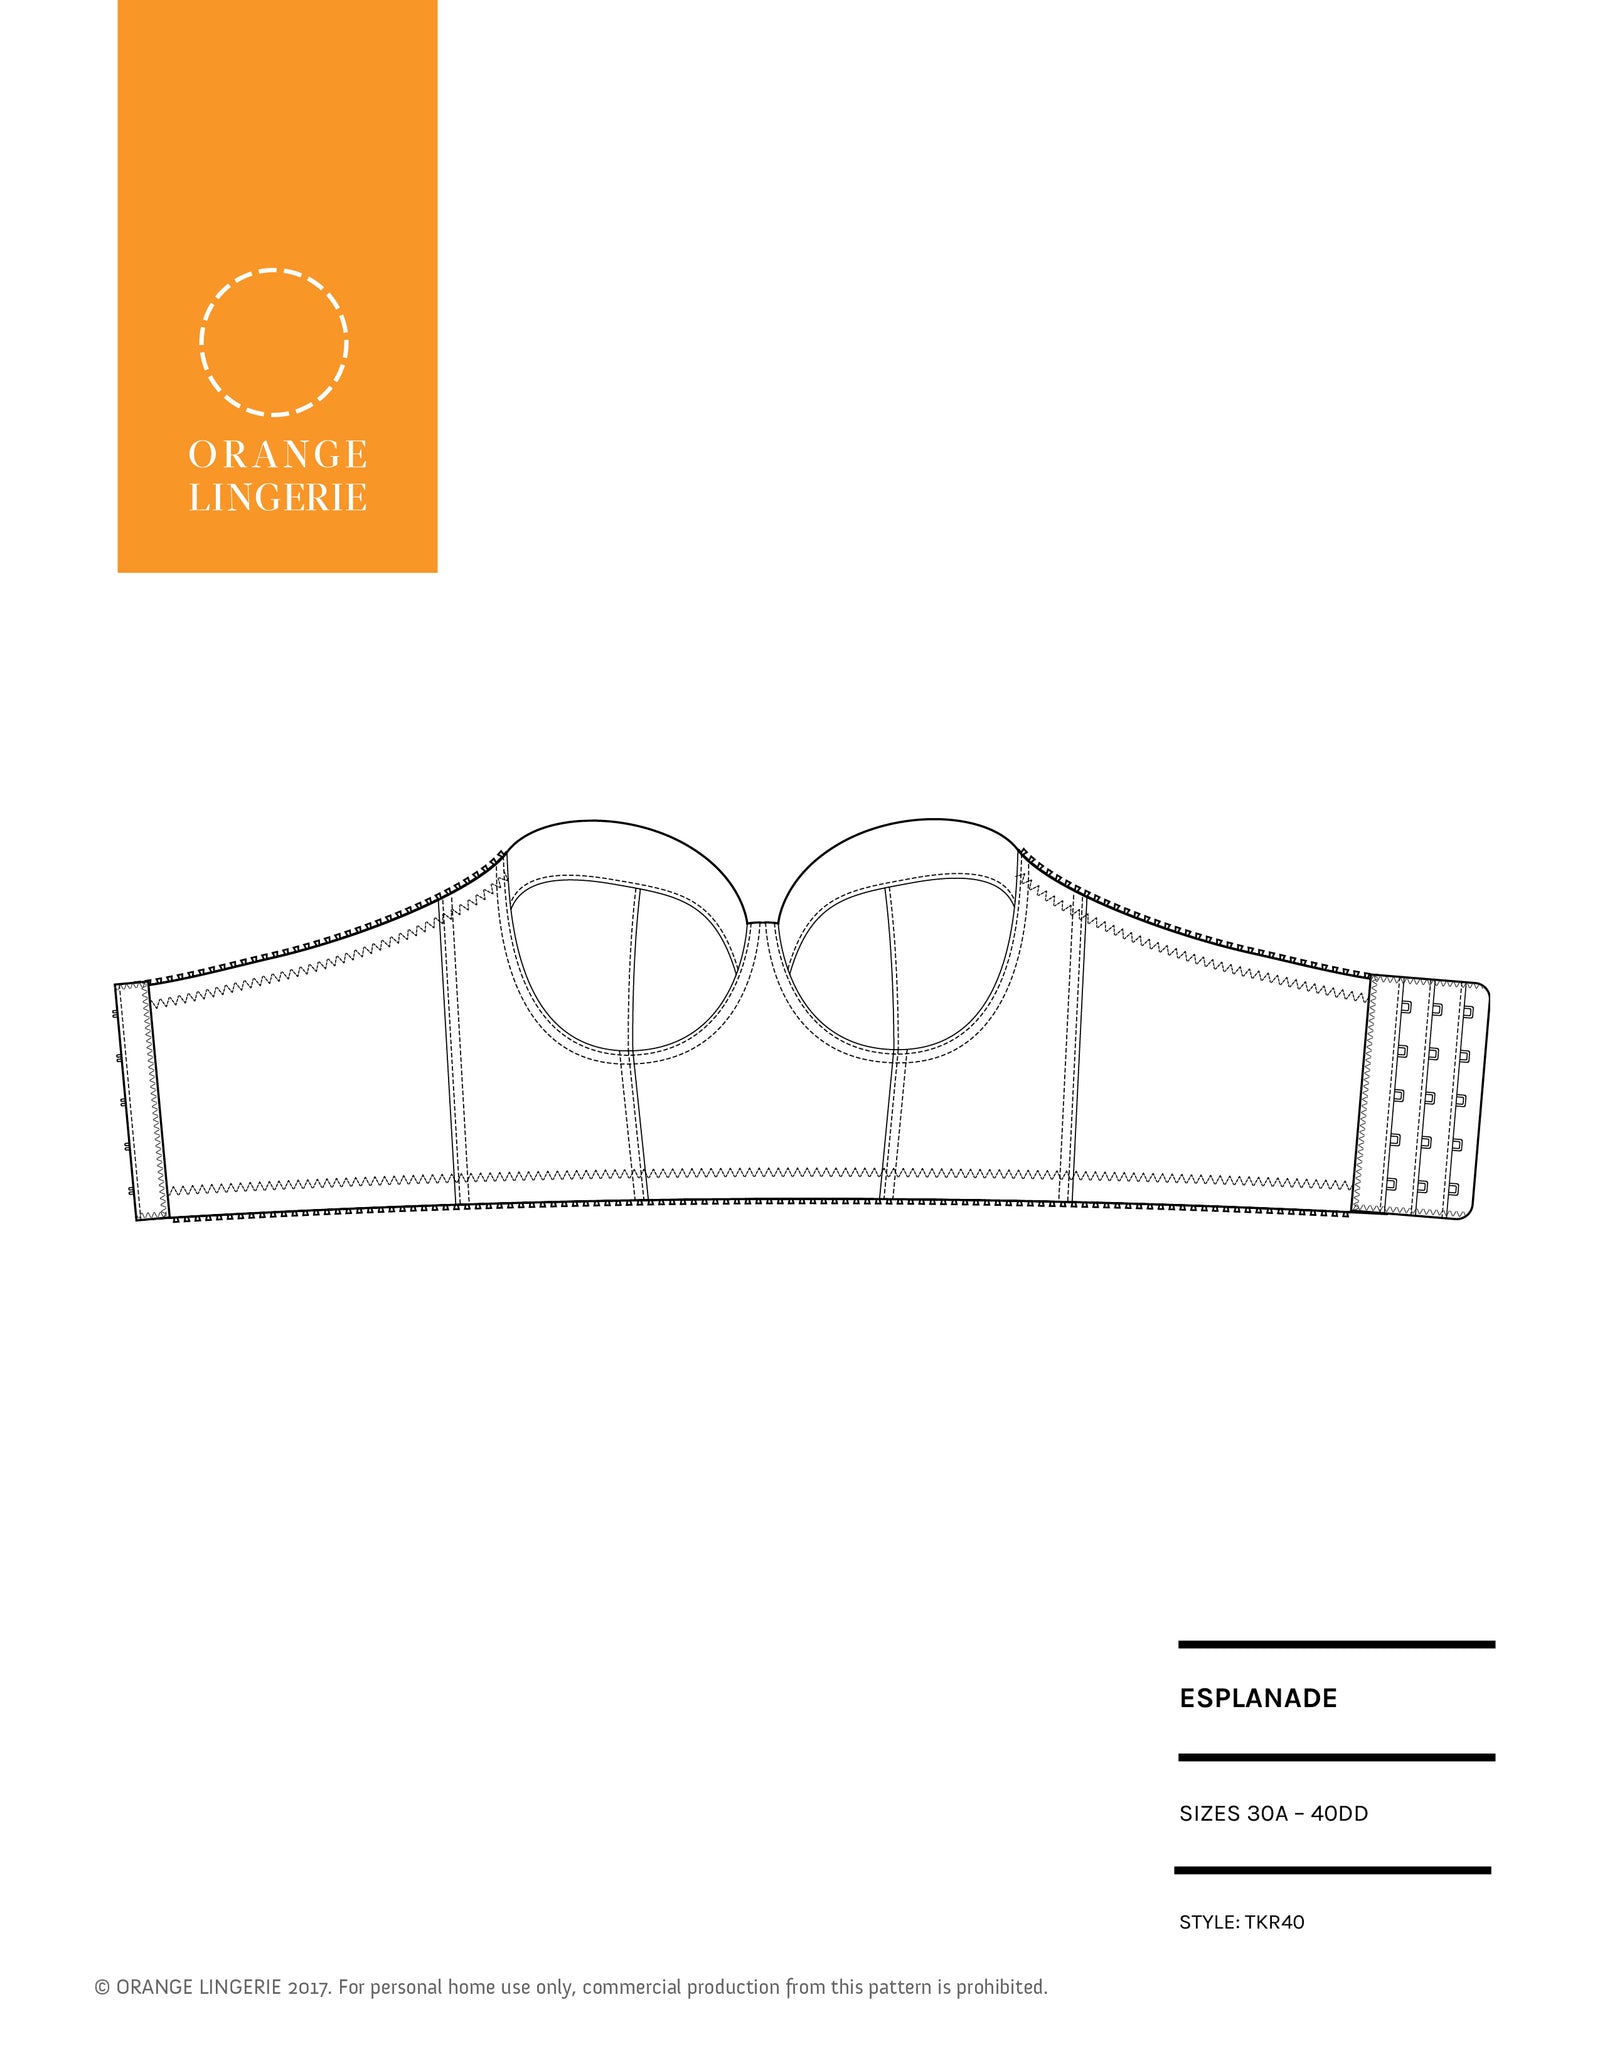
You need to determine where you will want to attach your straps before your start sewing your bra since the G-hook holders on the bra are added early in the construction process.
If you have already made an Esplanade bra, this is super simple, you can try on the bra and identify where you want to put the straps on your next one. You can even pin the straps you just made in place to see where you like them best. If you have not made an Esplanade bra, you can look at another bra you like as a guide for strap placement.
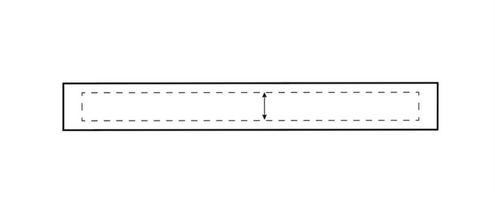
Once you have determined where you want your straps, mark the placement point on your pattern. You need to mark the front placement point on the wrong side of the foam upper cup pattern piece and the back placement point on the wrong side of band pattern piece as shown below.

All the prep work is complete! Coming up next I will show you how to add the strap attachments to the bra so you can wear straps with your Esplanade bra – or not!