Over the summer I shared a lot of my favorite pro tips for bra making. As I was putting those posts together, I thought of even more tips to help you make your own beautiful and professional looking lingerie! Below I capture a few of my favorites.
Sewing Small Pieces

Sewing small pieces can be tricky. If you are having difficulty you can always sew from the middle outwards. No one ever said you have sew from end to end! This can make it easier to control those tiny and sometimes slippery bits of fabric in a bra making project.

Another way to sew small and/or slippery pieces is to start your seam with a small fabric leader or piece of paper at the beginning of a seam. A fabric leader also helps if your machine wants to eat the fabric at the start of the seam.

Chain sewing where you sew continuously from one seam to another is another great technique and saves construction time overall as well.
Working with Shifty Fabrics

When sewing power net (or power mesh) to another fabric on a conventional sewing machine, such as when you attach the frame to the band, sew with the power net on the bed of the machine and the other fabric on top. With this method the power mesh seamline does not get stretched and you get a nice flat straight seam. Of course, you could also overlock this seam on your serger!
Working with Bra Kits

Before you cut out your pattern, check trim and elastic sizes on your pattern and compare them to what you plan to use. On Orange Lingerie bra sewing patterns these lines are all clearly marked on each pattern piece for easy reference.
This tip is especially important if you are using a bra making kit where the trim and elastic widths vary and may be different from the pattern allowances. It is so much easier to make any necessary adjustments before you cut out your garment.
Add to the Band

I have students add 1 ¼” to the band, regardless of the size they are making, to account for the different properties of various Power Net fabrics and elastics. This adjustment (tutorial here) gives you some breathing room (literally) to account for different materials.
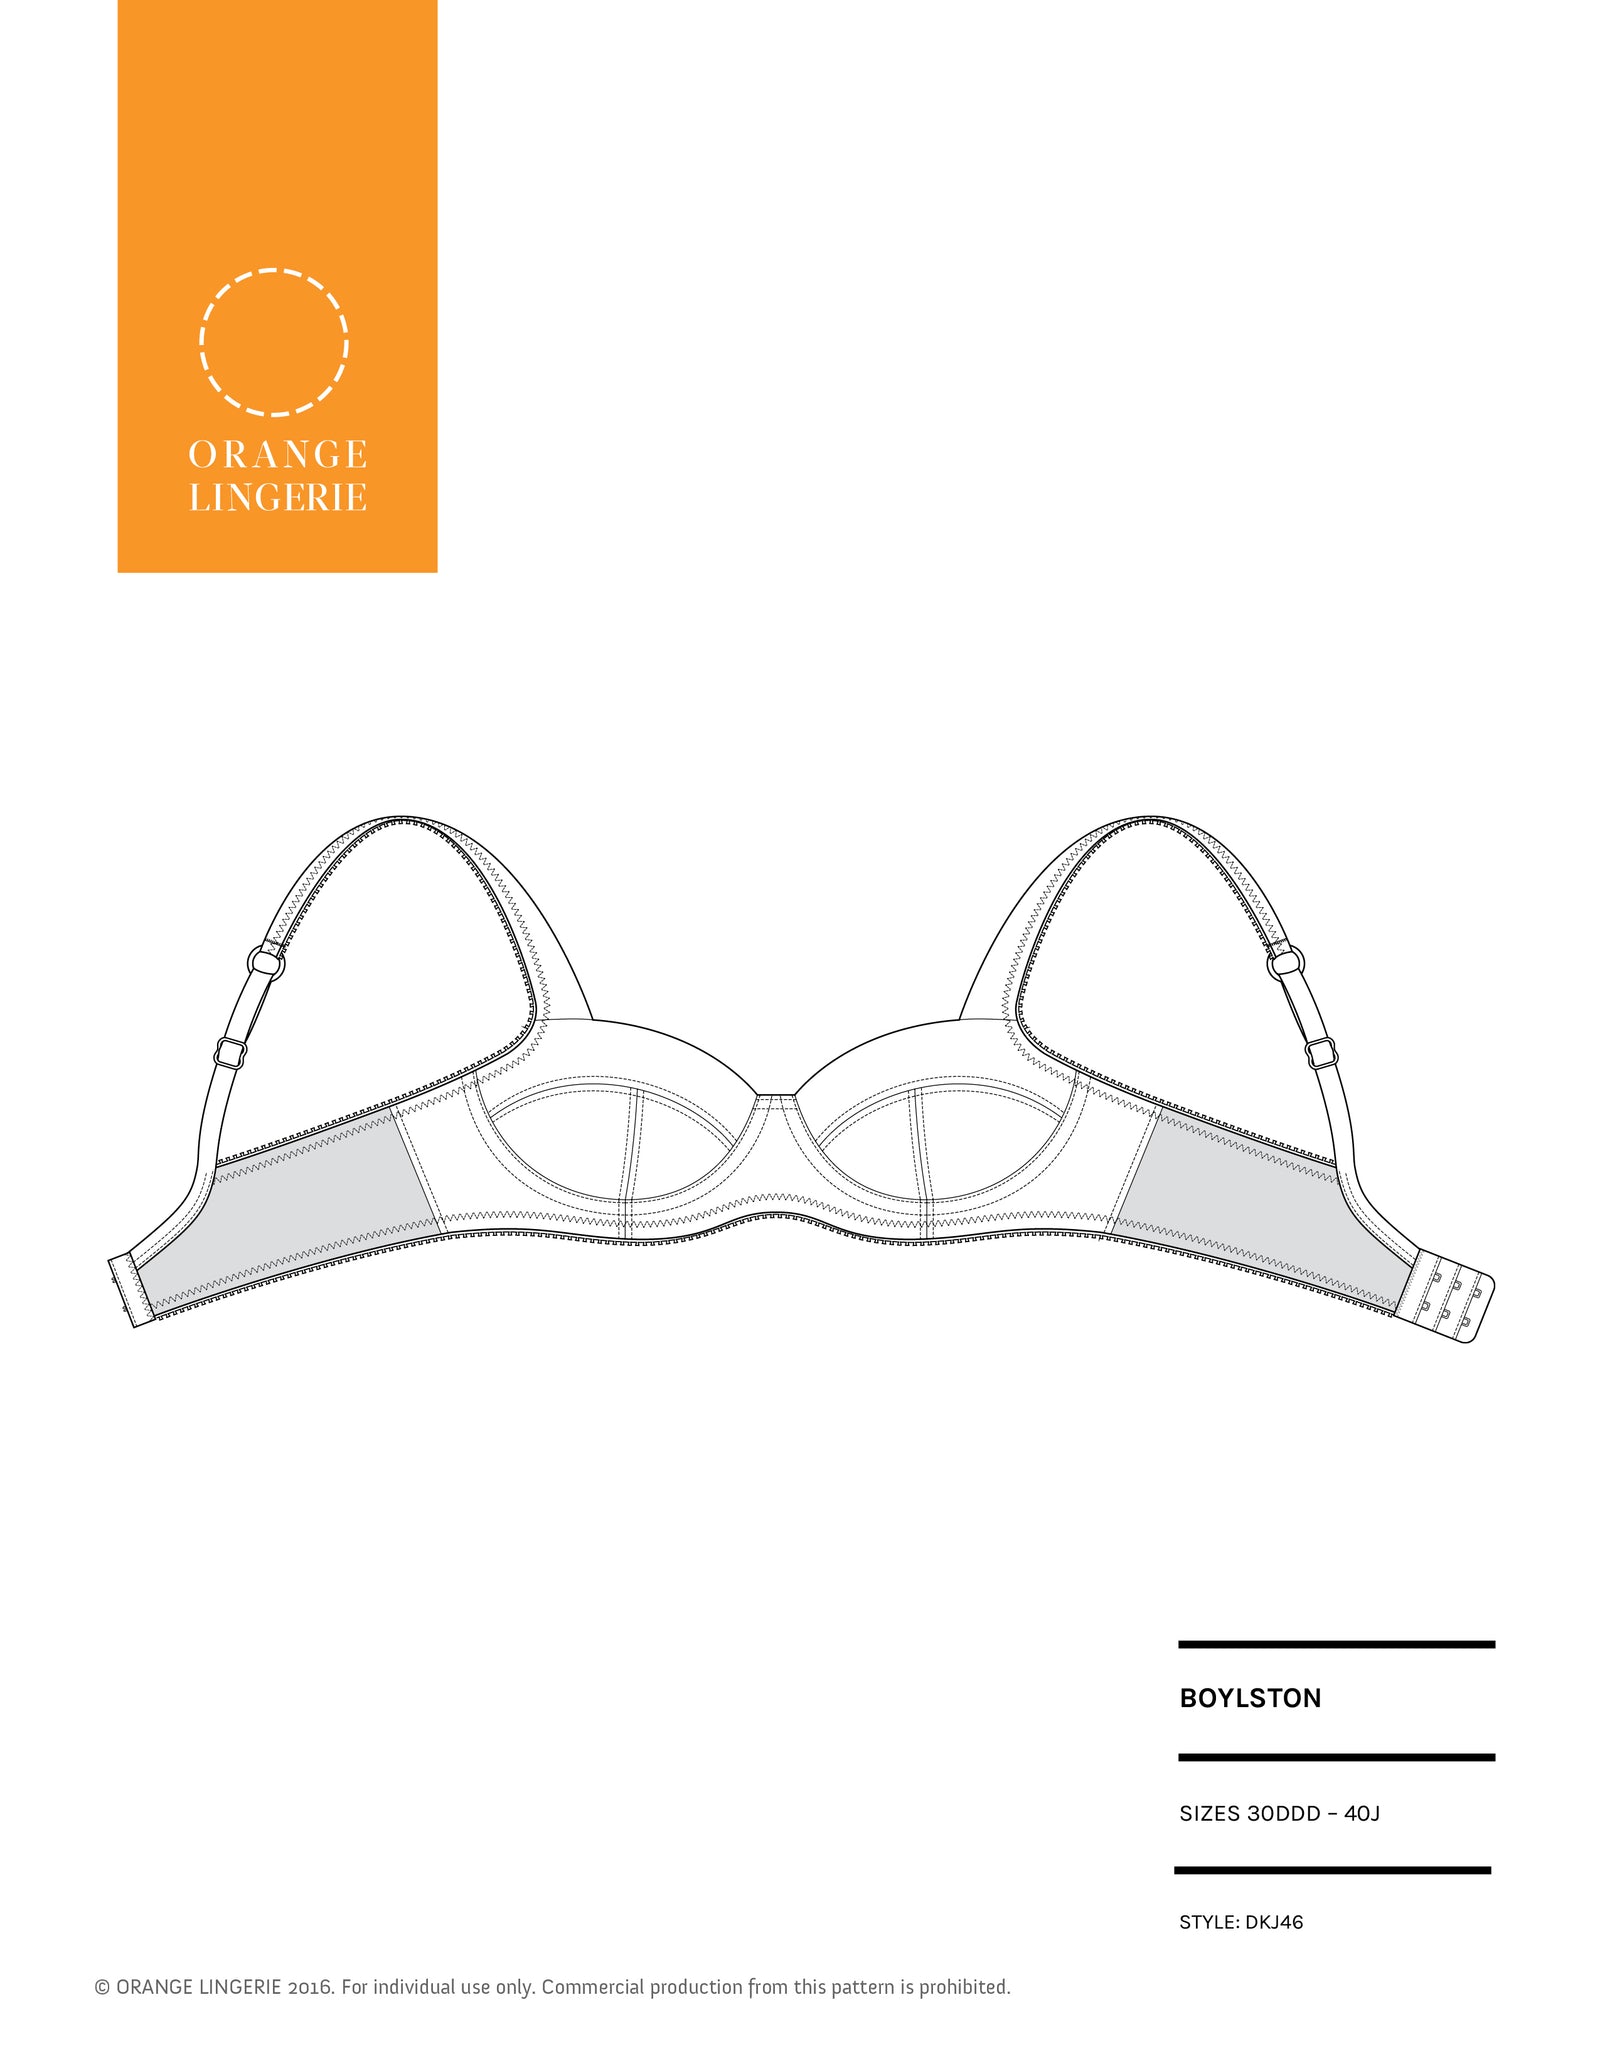
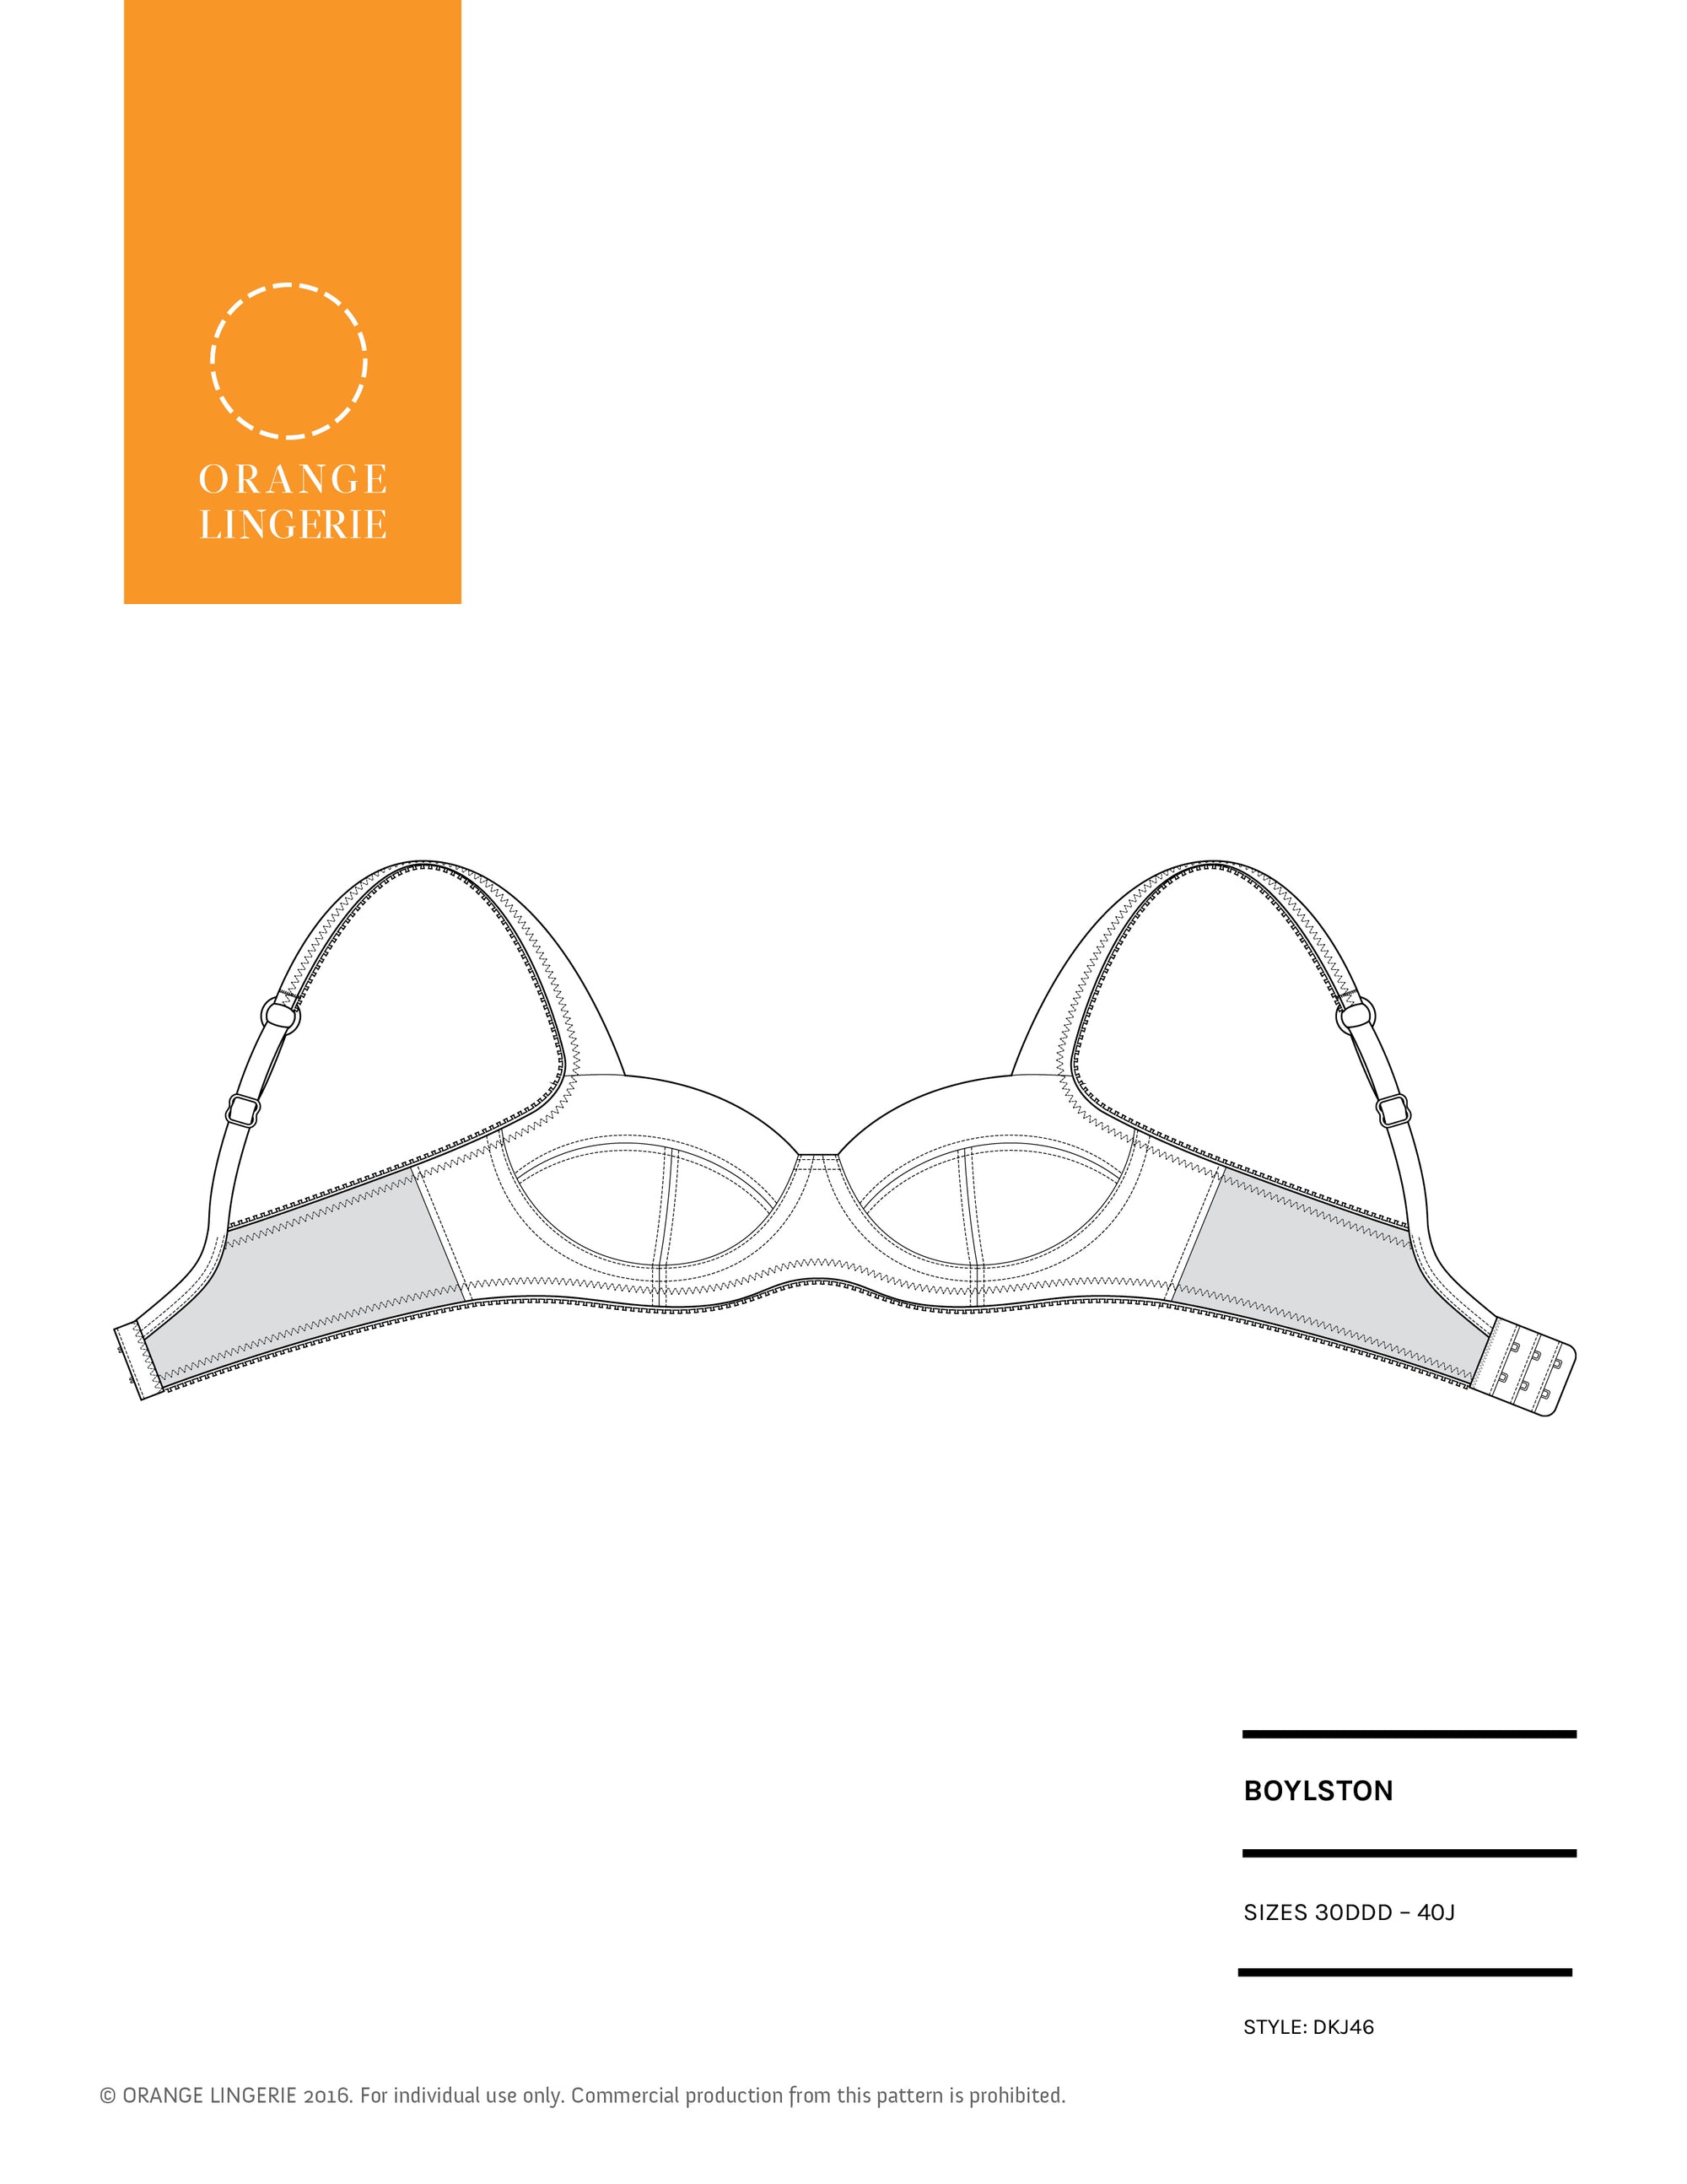
This is especially important for the A to DD size ranges for the Marlborough and Boylston bras since those bands were drafted to be firm using a fairly stretchy power mesh and a soft and stretchy band elastic.
Over the years bra kits have evolved to include firmer power net and firmer elastic. This is great for support but using the kit materials without first increasing the band could lead to a bra that is too tight! It is super easy to make a band smaller if it turns out to be too big, but it is difficult to make a band larger!
That is why for insurance, and to avoid a lot of extra work with stretch calculations, I just add 1 ¼” to the band. You can read the tutorial here.
Check the Closure Height

I teach this adjustment in all of my workshops and have been adding this to our bra patterns as well as a reminder to check the closure height of the bra and to adjust as necessary to precisely fit your hook and eye closure. You can read the tutorial here.
Track Your Changes

Take notes while you sew! Write down the settings on your machine like your sightline/guide you use on your presser foot, and your preferred presser foot for topstitching.
Also write down the date of any pattern changes along with what you changed and what you want to alter next time. I also recommend taking pictures of each version of the garment on the body and storing all the information your preferred note taking app. I cannot even begin to tell you how important my notes are to the design and pattern making process!
Add your bra making tips to the comments below!