
Sometimes you want a little more support from your bra or perhaps you just want to prevent the side seam from riding up on your body. No problem! All you need to do is add a little side boning! You can do this with any bra that has a side seam, including ready-to-wear bras that are in your lingerie drawer right now.
Like most of bra making and sewing in general, there are multiple ways to add boning to the side of a bra. This tutorial will show you the fast and easy way to add this support.
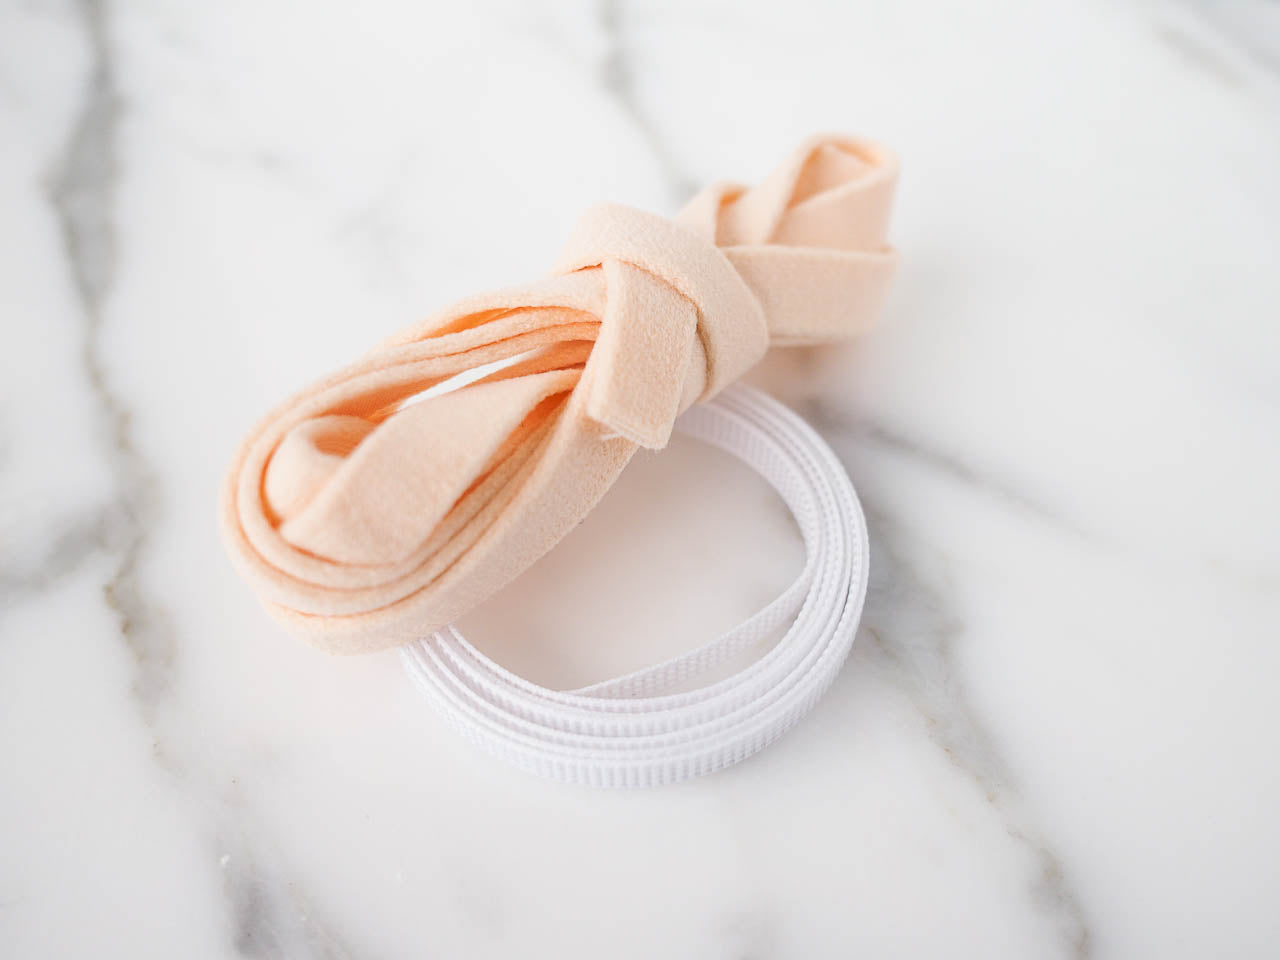
Materials
In addition to your finished bra, you will need lengths of boning long enough to cover the side seam of your bra and lengths of a boning casing wide enough to fit your boning. Be sure to have extra boning casing since it helps enormously with handling at the sewing machine.
I use ¼” Rigilene boning which fits nicely into the same casing I use for the underwires. I like the plush underwire casing at the side seam and using this material allows me to match what already being used inside the bra. If you are using this technique to add support to a ready-to-wear bra, just find the best color match in your stash.
Process
The first step is to sew up the entire bra as instructed. Yes, you can sew the entire bra first! Once the bra is complete it is just a matter of adding boning to the side seams.
To start, on the wrong side of the bra, attach boning casing at the side seam line on the frame side of the bra. You do not want to try to attach this to the band side of the bra since the band relies on its entire length to stretch around the body and the stretch pull on the stitching would not look good or wear well.
To attach the casing, stitch two lines: one on or near the seam line, and the second on the opposite side of the casing. Sew a bar tack at the top edge of the bra to close the casing.

Now it is time to put the boning into the casing. Start by cutting your boning to size. You need a length of boning that will span from the bar tack that seals the casing closed at the top edge of the bra to ¼” in from the bottom edge of the bra.
If necessary, press boning to flatten it underneath a pressing cloth and file both ends of each piece of boning smooth before inserting into the casing.

To finish, sew a bar tack across the boning casing close to the bottom of the bra to seal the boning inside.

Variations
As you can imagine, during the sewing process you could easily hide the lower edge and even the upper edge of the casing underneath the elastic. Just be aware that when the casing ends are concealed under the elastic, the boning will not span the entire width of the seam. It will be shorter by at least the inner stitching on the elastic. If I am going to take the extra step of adding boning to the side seam, I want the full effect so I use the method described in this post.