When I wrote about how to fit a bra using a toile (a.k.a. a muslin), I mentioned that the band may initially feel too loose and if so, you should keep it that way and alter it later on if necessary. If the band is still too large once you have attached all the elastics, you can decrease it to get a better fit. This same alteration can be made to a completely finished bra, including a ready-to-wear bra.
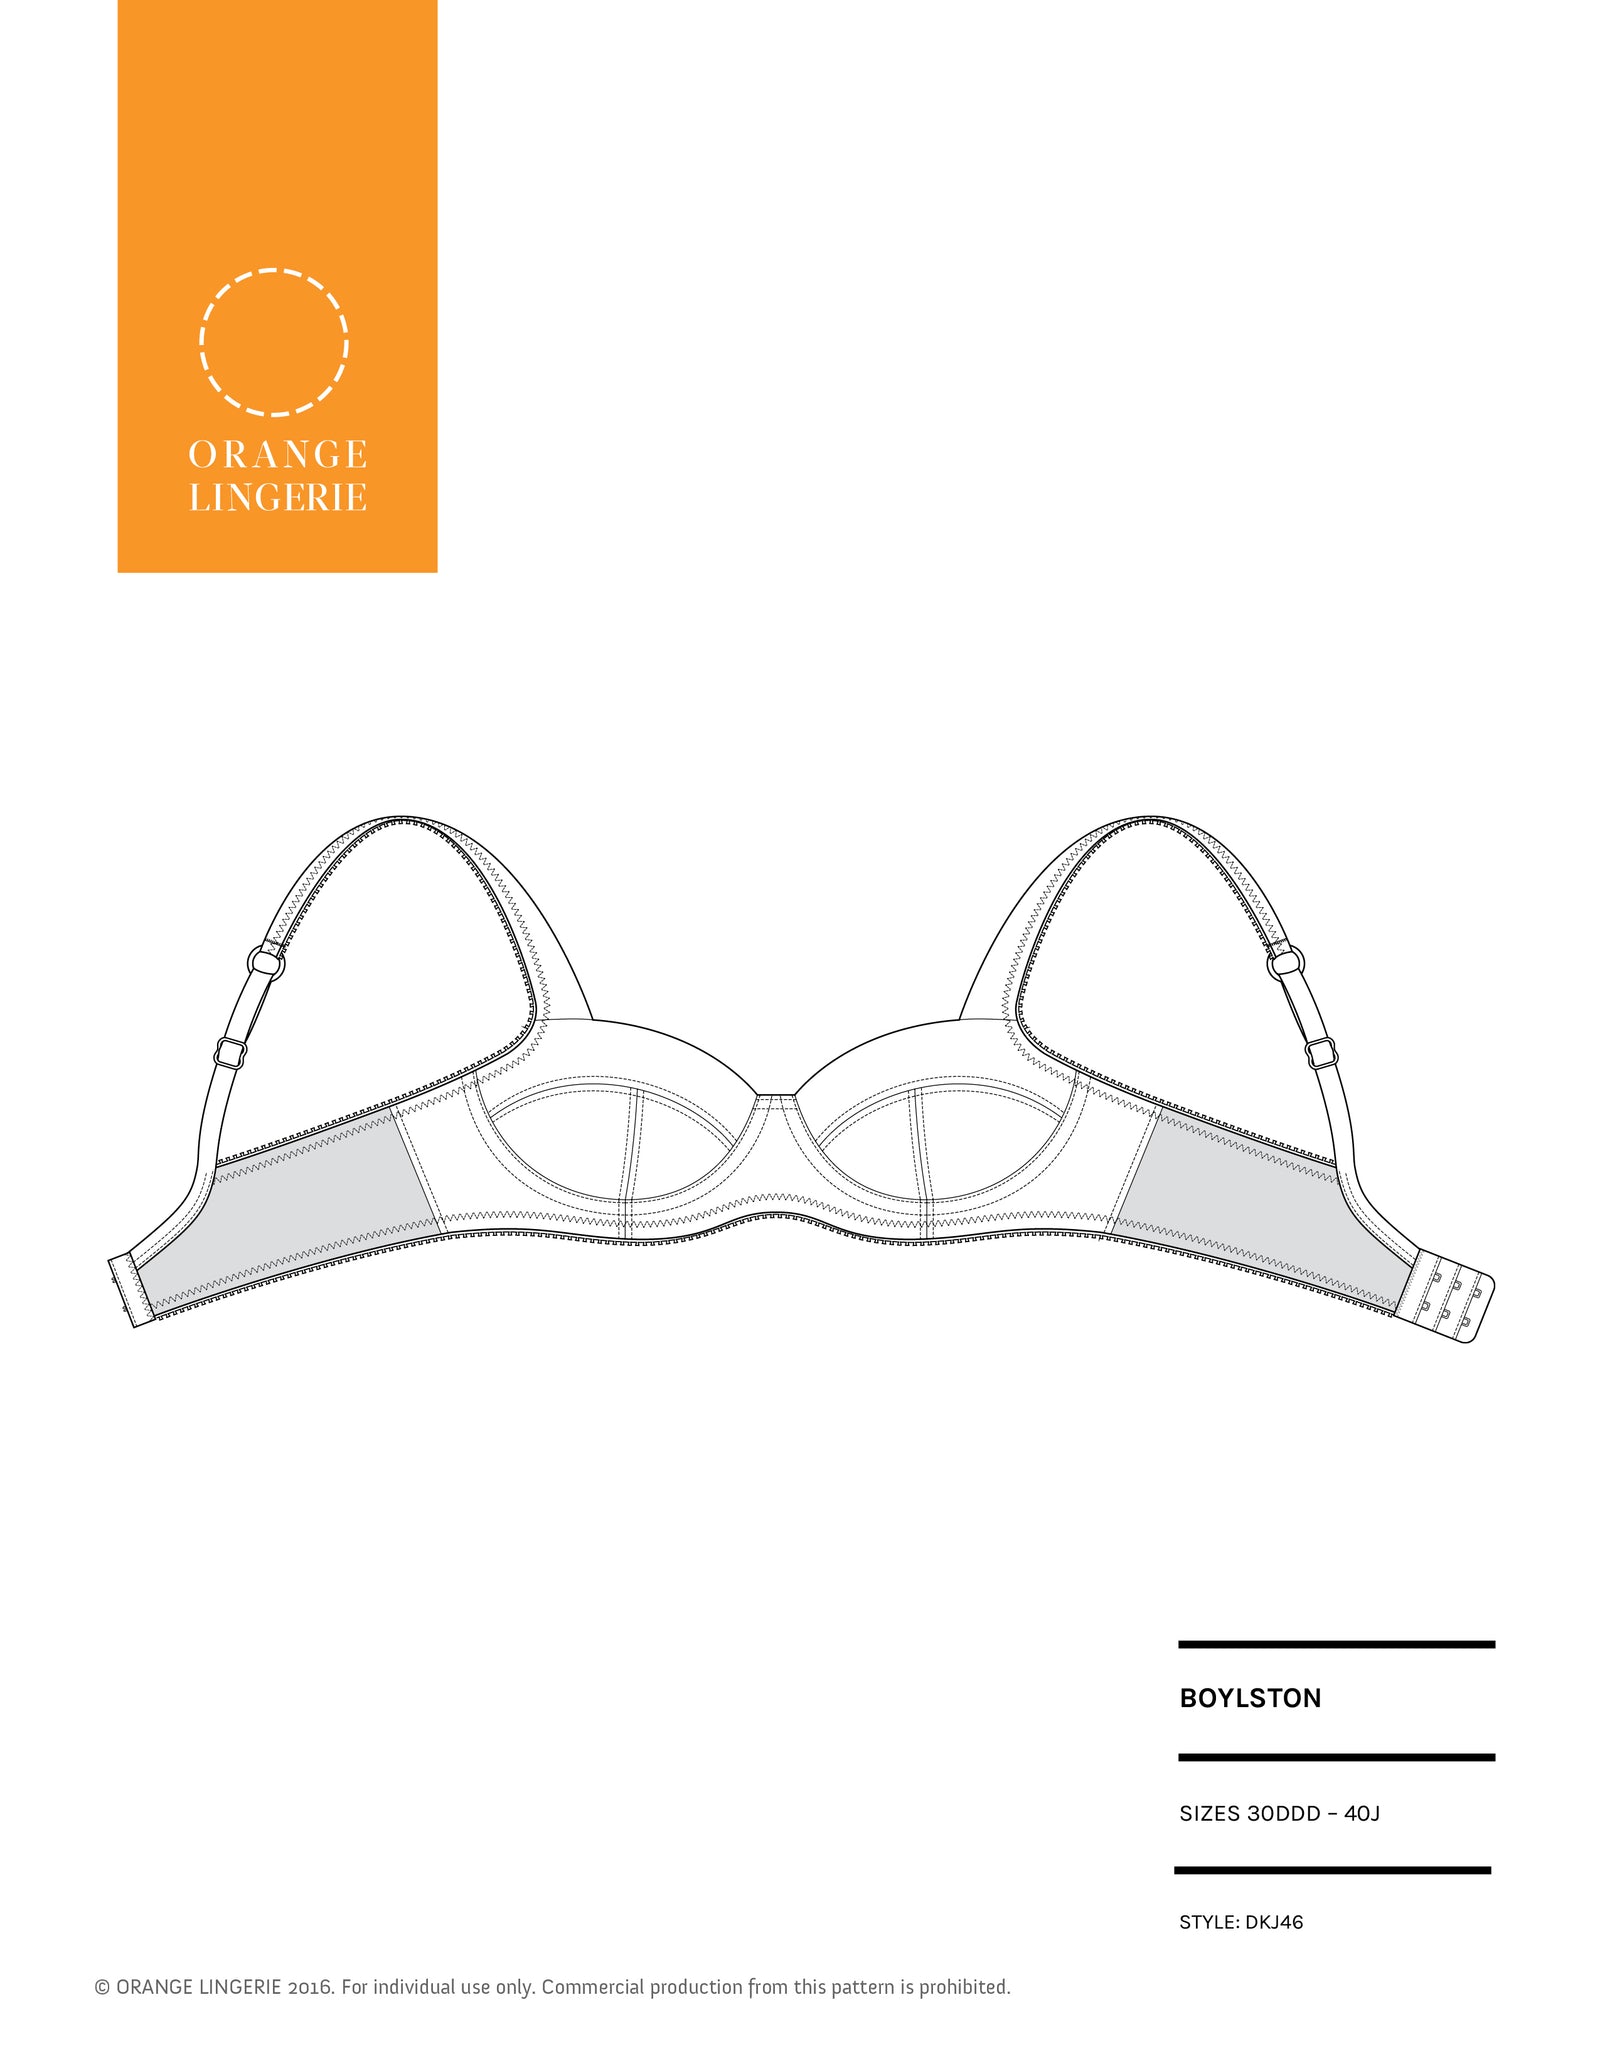
I am going to limit my discussion to bras with a scoop back like my Marlborough and Boylston bra patterns. I actually prefer scoop back bras specifically because they make it easy to fine-tune the fit of the band in the late stages of construction. Decreasing the band size of a T-back once the elastics have been sewn onto the bra is much more challenging!
To allow for band adjustments, sew the bra as directed except baste the straps to the back of the bra using a large zigzag stitch then do the same with the hooks and eye closures. Insert the underwires, you can skip sealing the casing for now, and try on the bra.

Now that the elastics are installed the bra should feel more snug compared to the toile. Remember a band that fits properly only allows you to get two fingers underneath the band at the rear closure. Any more room than that, the band is too large. Any less room than that, it could be too tight. I say “could” because you might like a super snug fitting band and that is totally fine. A band that is too big is not fine because it weakens the support ability of the entire garment. (Note, you can read more about how bras work and how they should fit here).
If the band is too large there is an easy fix. First, determine how much the band needs to be decreased. Start by adjusting the bra to the smallest hook and eye setting. If that gives you a snug fit then you will be decreasing the band by 1″ (2.54 cm) total. You can make this decrease by taking ½ of this amount, ½” (1.27 cm) off from the back of each side of the band and reshaping the scoop as illustrated by the orange dashed line below.

You can see that the rear strap positioning was also moved as part of the decrease. This is to keep the strap location constant. If you plan to change the strap location, wait until you have settled on the band alteration as illustrated above first. Do not try to move the strap and decrease the band at the same time!
Also note from the drawing of the alteration that the height allowed for the hook and eye closure remains the same, as indicated by the gray horizontal lines. This is so your closure continues to fit nicely onto the bra.
In case you are wondering, yes, you should decrease the band if the bra only fits snuggly on the smallest hook and eye setting. Remember the elastics in the bra will lose their recovery ability over time and you want the ability to prolong the life of the bra by fastening the bra more tightly to the body on a tighter hook and eye setting. Save the life of a bra and decrease the band!
If the bra is still loose when the bra is fastened on the tightest hook and eye setting, you are going to need to estimate the amount of the decrease. When estimating, I like to take away a little less than I think I need to so I can test the fit again. It is easier to take away than to add!
Once you have determined the amount to decrease the band, remove the basted hook and eye closures and the basted on strap from the scoop of the bra, make the alteration, then attach the strap, hook and eye closures as usual and complete any other finishing steps. If you are decreasing the band on a completely finished or ready-to-wear bra, be careful when you are unpicking the stitches not to damage the power mesh or elastics!
Be sure to write down the amount of the decrease you made so you can make the adjustment at the side seam (the optimal place to decrease a band) before you make your next bra. I usually make a note on the pattern piece itself along with the fabric I was using and the date. If you are looking for them, I have instructions on how to decrease band at the side seam here.
So now you probably want to know what happens if the band ends up too small? While it is more complicated to increase the band once the bra is complete, it is not impossible. In an upcoming post I will show you how!


