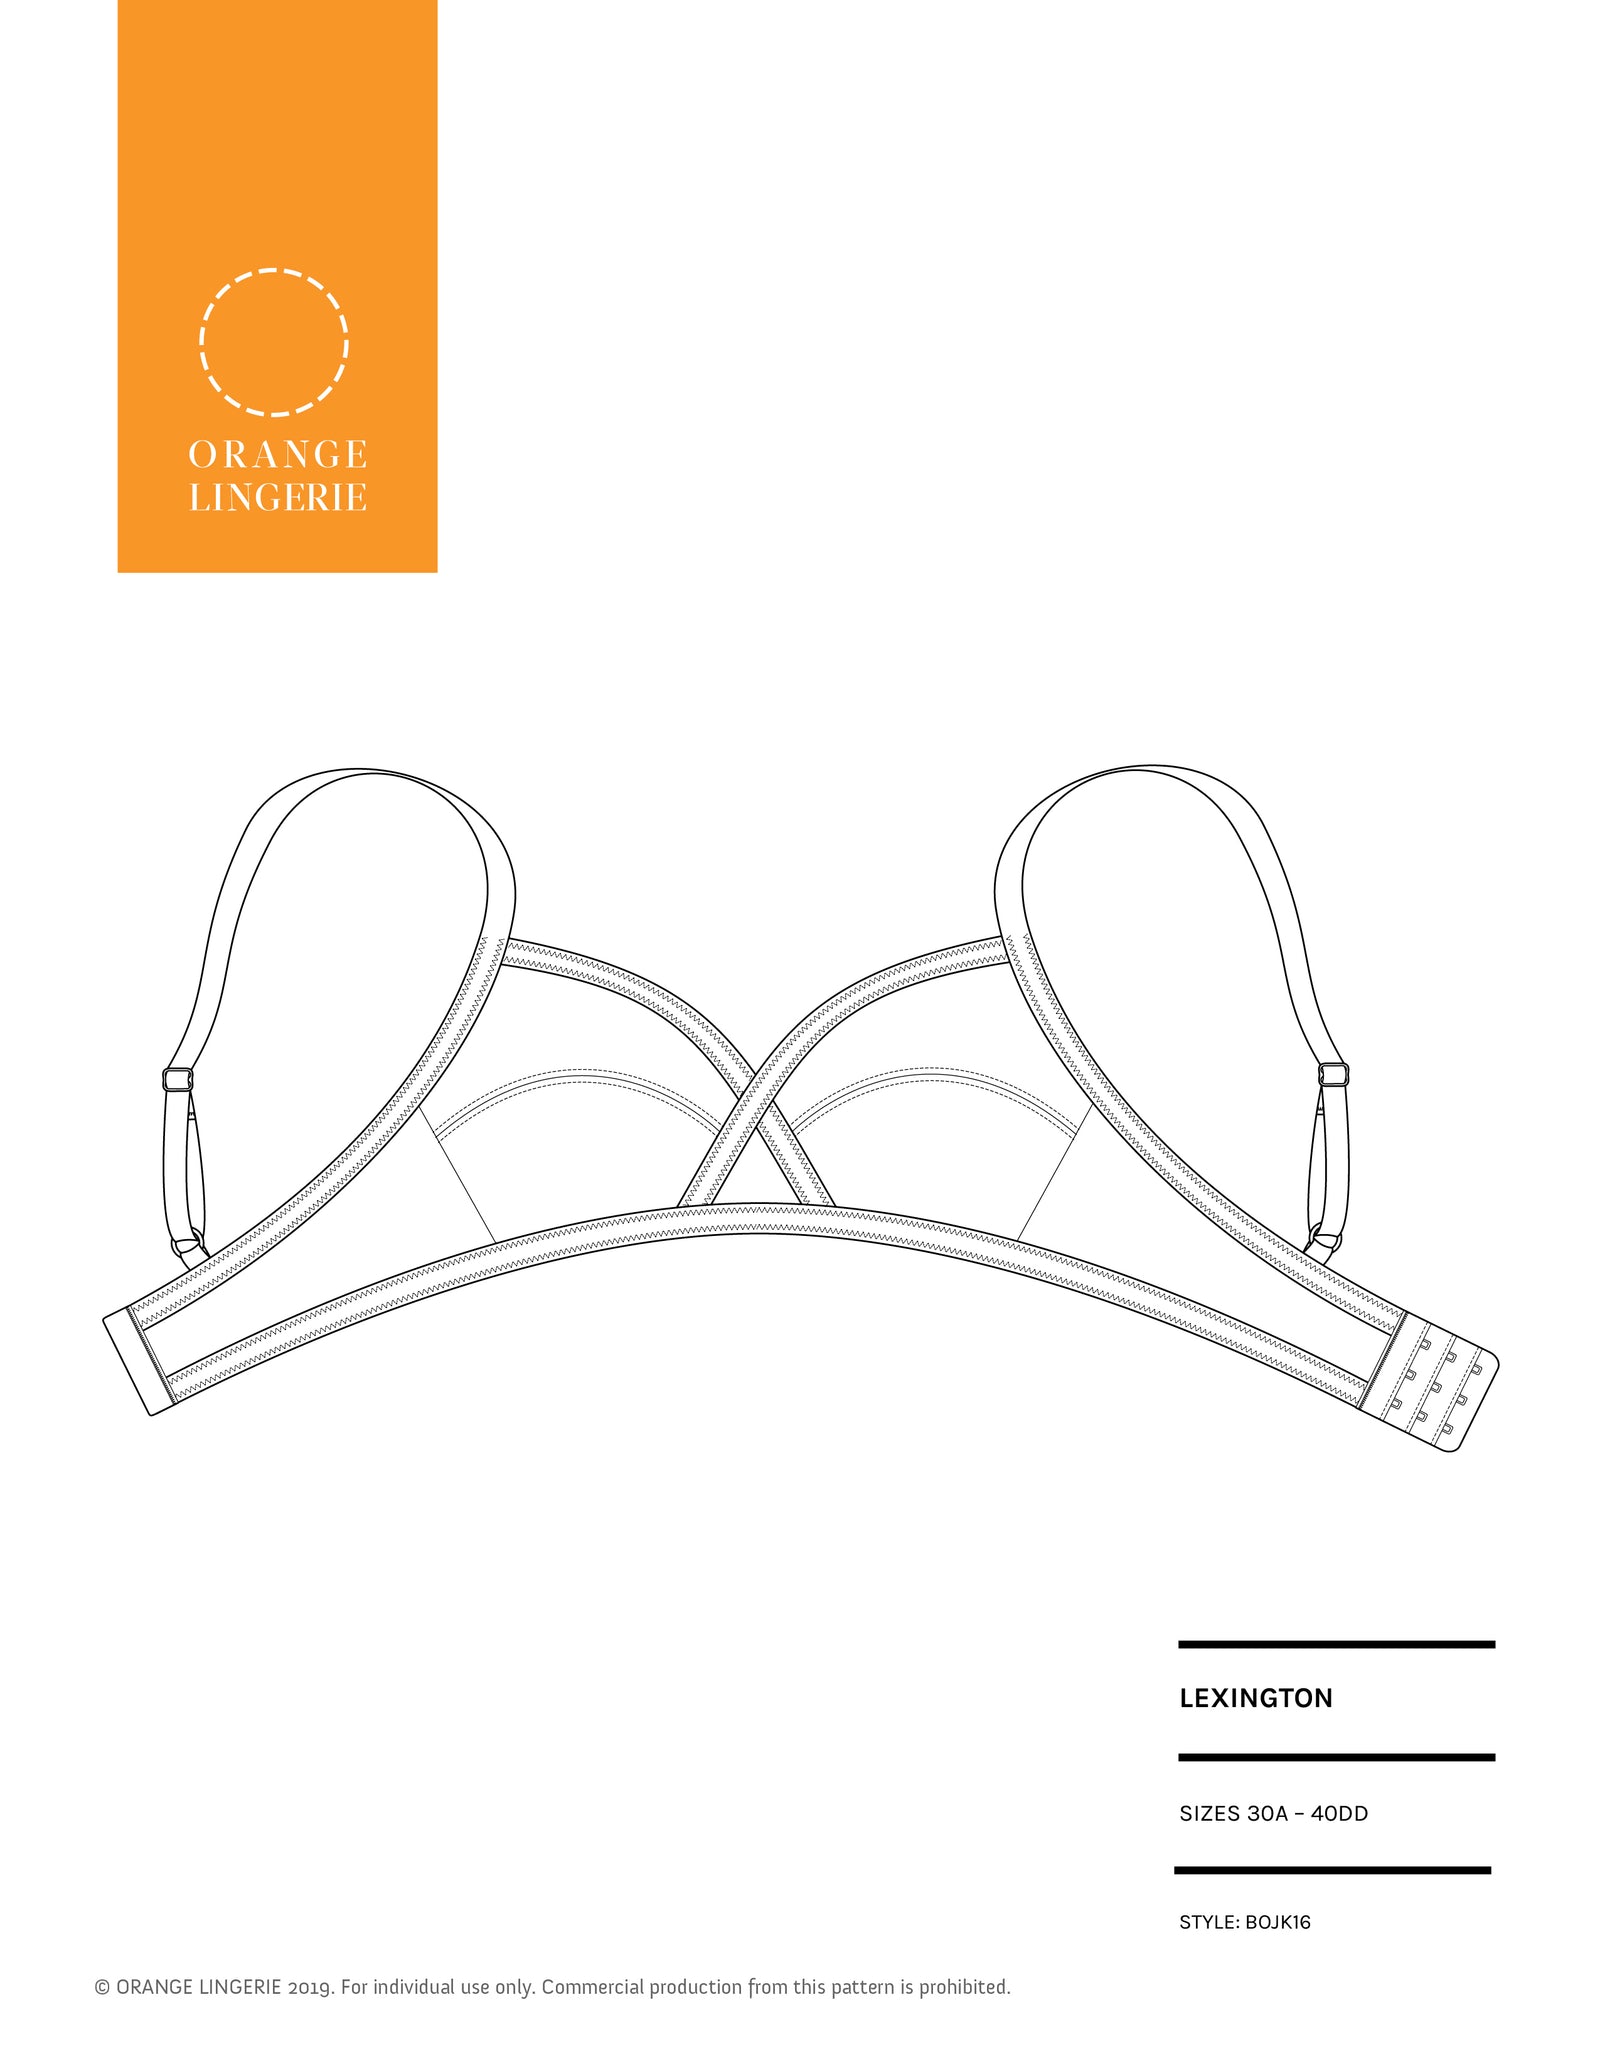
If you saw our Lexington bra sewing inspiration blog post, you already know that there are so many fun ways to sew up our newest bra pattern! Today I’m going to show you how to turn the Lexington bra into a lounge bralette without foam. This version is also a delight to cut and sew because it simplifies both the cutting and sewing.
If you saw our Lexington bra sewing inspiration blog post, you already know that there are so many fun ways to sew up our newest bra pattern! Today I’m going to show you how to turn the Lexington bra into a lounge bralette without foam. This version is also a delight to cut and sew because it simplifies both the cutting and sewing.
Bonus - depending on the firmness of the stretch in your fabric, this variation could even be used for practicing yoga or another low-impact exercise!
PATTERN MODIFICATIONS
The original Lexington pattern has different pieces for the different materials used for the cups. For this foam-free version, you only need to use fabric cup pieces for both layers of the cups. If you are using stretch fabrics (as recommended in the pattern), cut one set of cup pieces with the stretch line as indicated on the pattern and another set of cup pieces with the direction of greatest stretch in the opposite direction to help stabilize the cups.
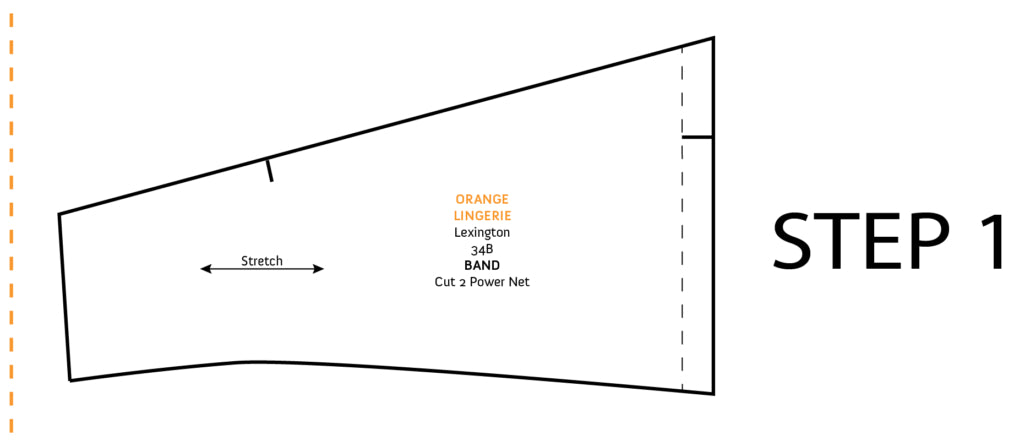
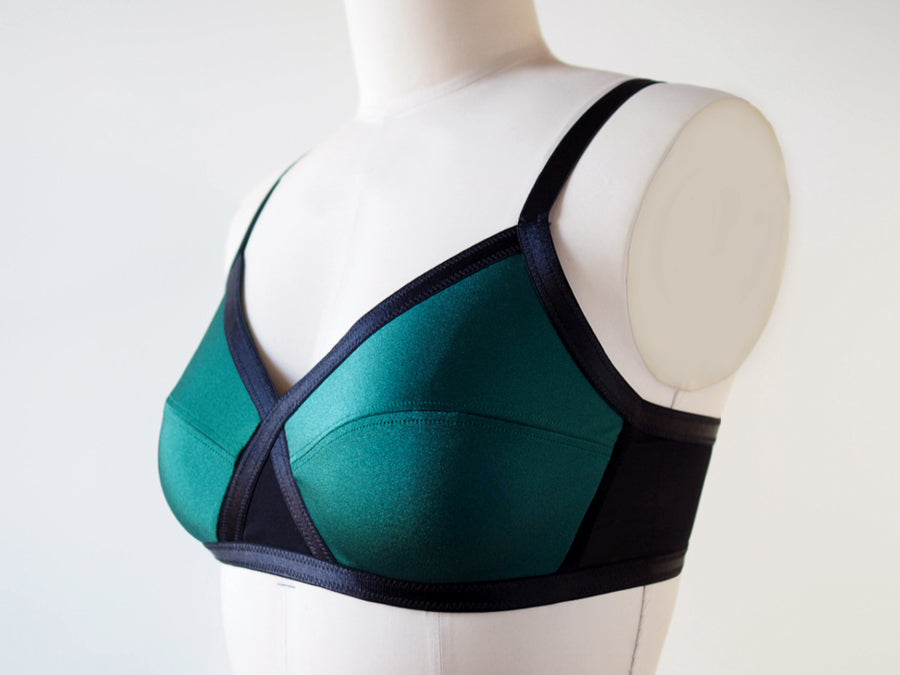
For this lounge version we altered the band to remove the hook and eye closure for a slip on/slip off style bra.

Here’s how to do this:
1. Measuring ½” from the top point of the center back, draw a line that is parallel to the side seam. This is your center back line.
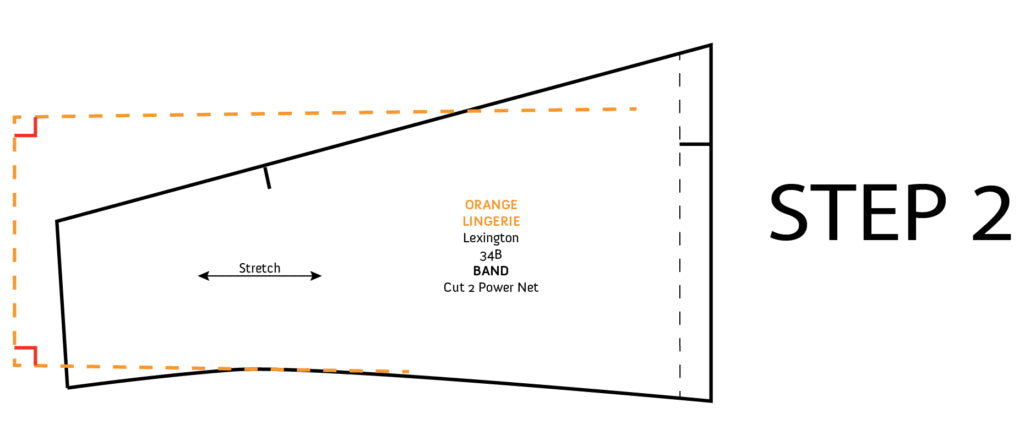
2. From this new center back line, draw 2 perpendicular lines towards the side seam. This is an important step because center back will now be a fold line, so if the top and bottom are not at 90 degrees, you will end up with an unflattering V shape at center back after you cut it out.
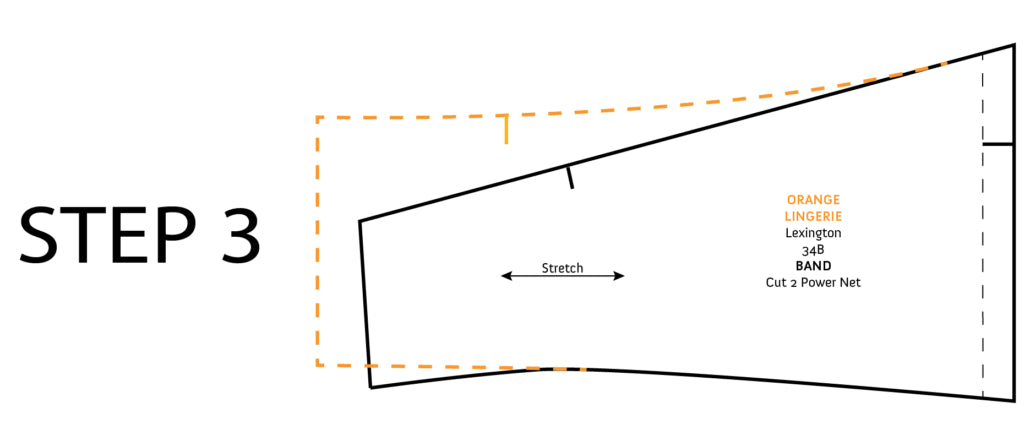
3. Blend the perpendicular lines from step 2 into the original pattern cutting lines. Don’t forget to add the notches to the top of the band about 3” from the center back.
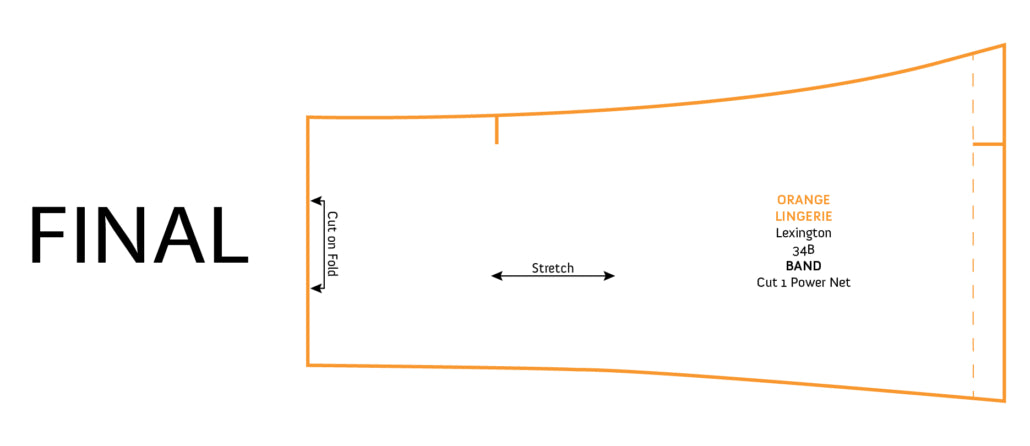
4. Cut 1 of the new band of piece on the center back fold line.
Now that we have covered the pattern alterations, let’s take a look at the construction process.
CONSTRUCTION CHANGES
Once the cup and bridge sub-assemblies are sewn together per the instructions, sew on the front crisscross elastics before attaching the back band piece at the side seams (as opposed to after, as instructed in the pattern).
Once the front cross elastics are attached to the cup assembly, sew the band to both sides and sew in the boning casing as described in the pattern instructions. For this version, I opted to keep the boning casing at the side seams for some added stability but skipped the actual boning to keep the bra extra light and comfortable. If you feel like you need extra support you can insert the boning as instructed.
Since the back is now one piece, the rest of the elastics sew on a bit differently. For the bottom elastic, it is easiest to start and stop at a side seam, overlapping the edges of the elastic about ¼” and then zigzagging over the cut ends to finish and secure. The important thing is to not stretch out the elastic too much.
The elastic calculation for the top and strap is also different with the pull over style. To figure out how much strap elastic to cut for the top and strap elastics, mark 16” from one end (for one standard strap amount) on the strap elastic, then measure out the sewn part of the elastic by aligning the marked point with the top of one armhole point and walking the elastic around the armhole, back and opposite armhole. Then mark that point on the elastic and add an additional 16” for the other strap and cut the elastic. Don’t be alarmed; it will seem like a lot of elastic!

The straps must also be made a bit differently. Both ends of the elastic must be finished with rings and sliders before attaching it to the bra. One end gets the ring and slider attached according to the pattern instructions. The other end is a bit of a mind-bender but it’s a great trick to have in your bra sewing arsenal. Here’s how to do it (shown on a smaller piece of elastic below):
1. Thread the elastic, shiny side up, through the center bar of the slider then and add the ring.
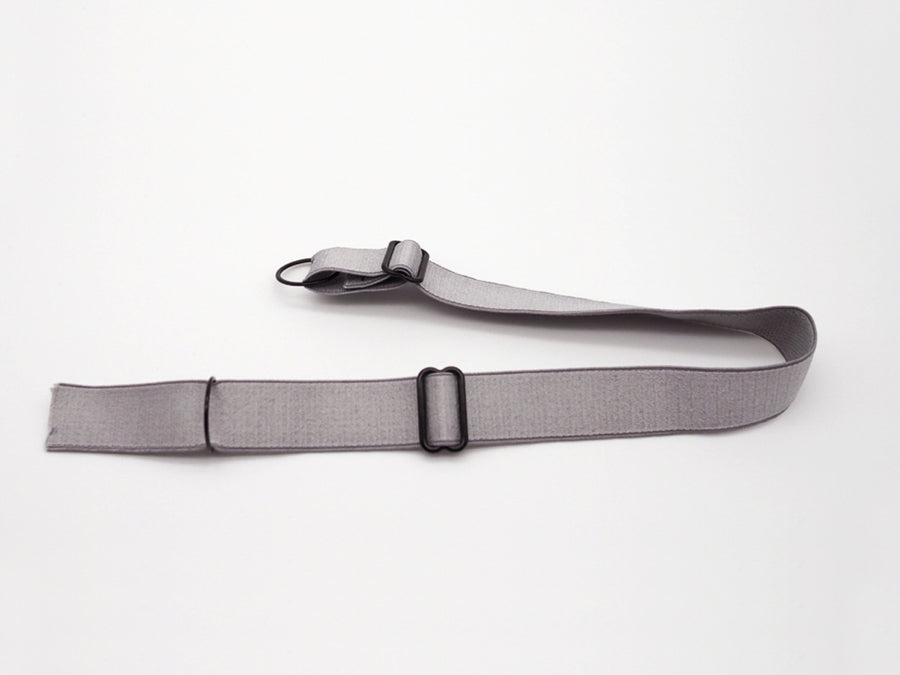
2. Pull a few inches of elastic up and away from the center bar of the slider then, coming from underneath the slider, carefully pull the cut end of elastic end up through the rear opening of the slider.
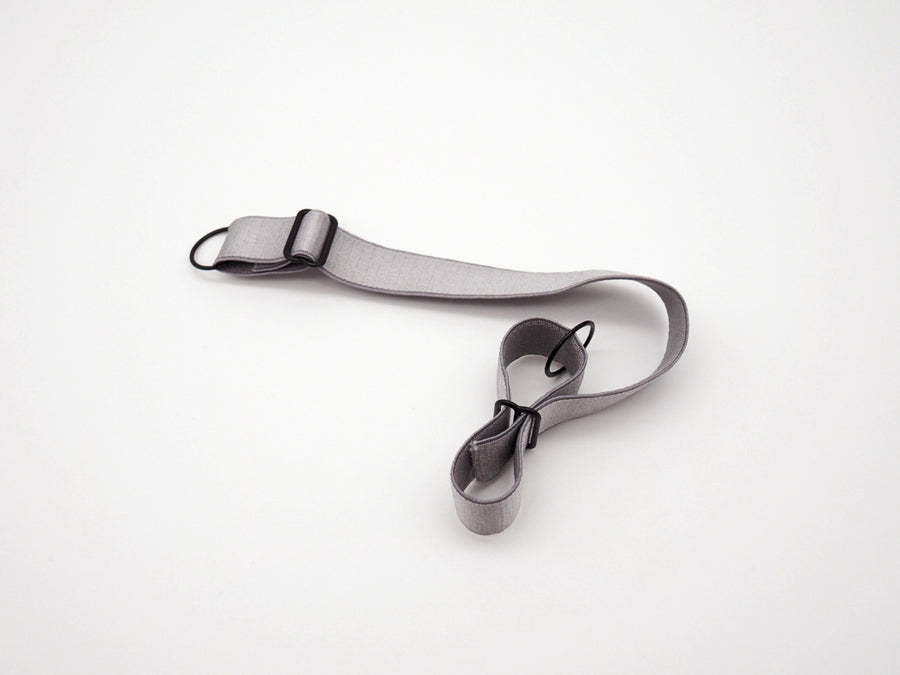
3. Now pull the cut end of the elastic over the center bar and through the front opening of the slider and pull the extra elastic on top of the slider down along with the cut end of elastic.
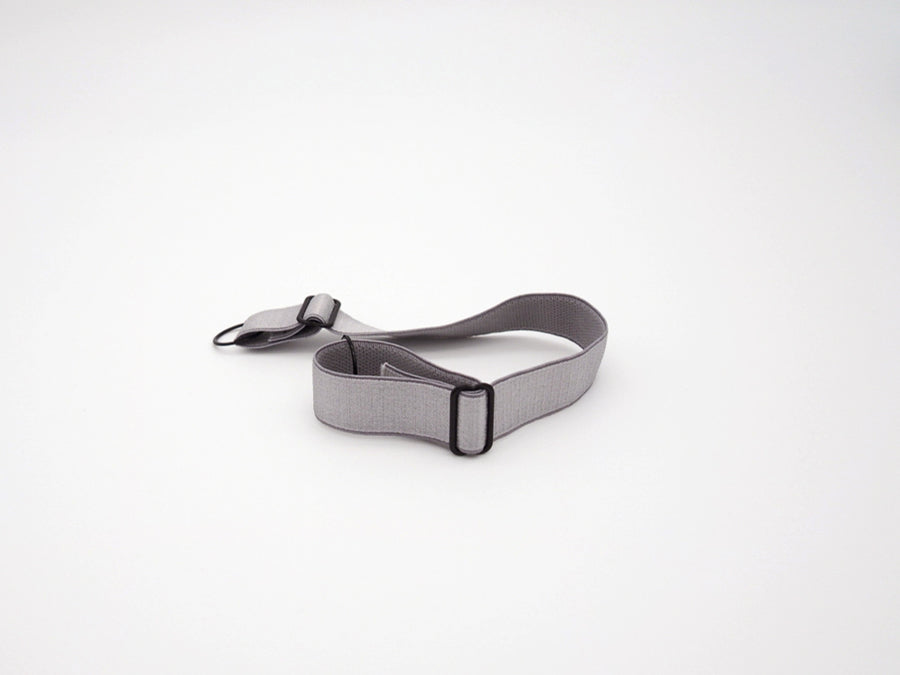
4. Pull enough elastic toward the ring out of the way so you can stitch the cut end down to the elastic just below the slider. Then stitch the cut end of the elastic to the top layer of elastic to complete the doubled ended strap.
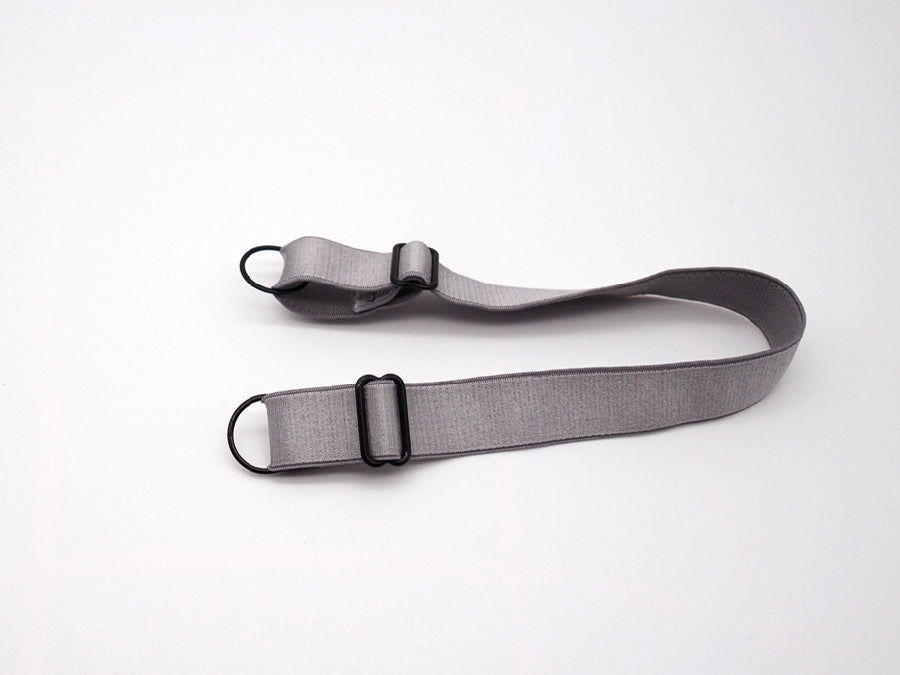
To finish, align the marked points on the strap with the top of the armholes and attach the elastic along the top of the bra and back as instructed in the pattern. The back straps are also attached to the band as instructed in the pattern.
Enjoy your new lounge-y version of the Lexington and don’t forget to tag #lexingtonbra and #orangelingerie to share it with me!