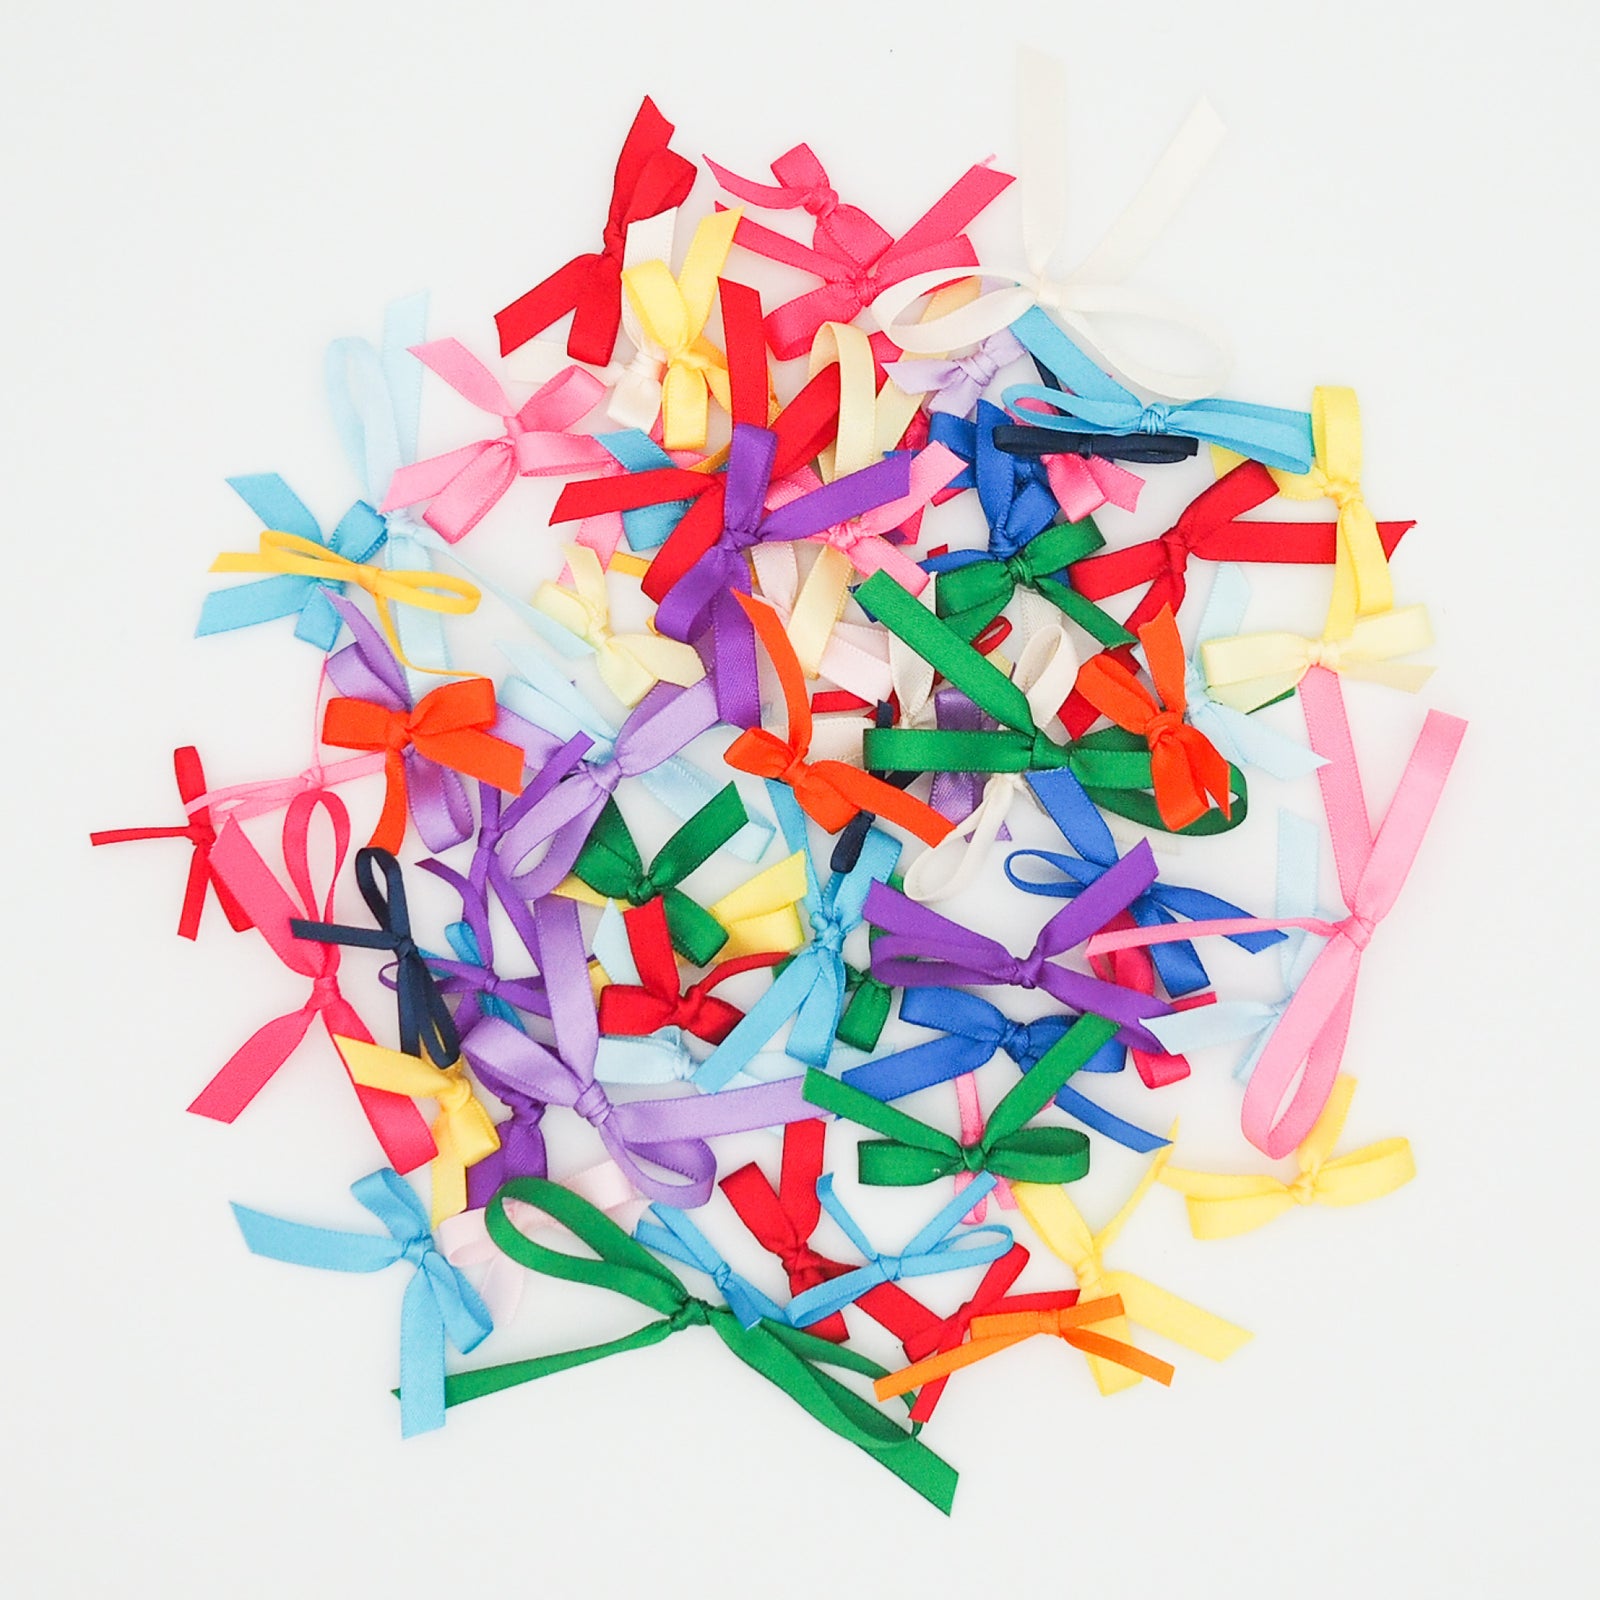

I prefer making lingerie bows myself largely because pre-made bows always seem a bit “off”. Either they are tied strangely or are just not quite the right color. I also feel that making my own bow adds that extra special touch that elevates the finish of the garment. Of course, once I realized how much fun it is to shop for ribbon, well, that was it for me!
To make a bow you can use a ribbon, as shown in this tutorial, or you can follow my perfect spaghetti strap tutorial to create a thin tube of fabric to tie into a bow. So many choices when we make our own! Don’t you just love sewing?!
To help me tie perfect tiny little bows every time, I use this handy tool called “Bow Easy”. There are several different size bows you can make using this super simple tool. I generally use the 1 ¼” bow template with ¼” ribbon for most bra bows, but you might experiment with different sizes based on the width of your ribbon.
Here are the steps!
1. To determine how much ribbon to cut to make a bow, multiply the finished bow size by 8. For a 1¼” ” bow I cut 10” of ribbon (1.25 x 8 = 10).
2. Working from left to right, wrap the ribbon around the template leaving ¼” – ½” extra ribbon on top. Wrap the ribbon near the bottom of the template, as shown, to facilitate later steps. Hold the end down with your left thumb on the template.

3. Continue to wrap the ribbon around the template so that it wraps back around to the top. Hold that loop, along with the original ribbon end, with your left thumb.

4. Bring the tail of the ribbon through the top of the center channel without twisting the ribbon. This should form a loop on top of the template.

5. Wrap the tail of the ribbon around the center channel, and, still working from left to right, bring it up through the loop you just formed.

6. Pull to make a snug knot.

7. Push the tail end through the top of the center channel again to flatten the knot a bit and slide the completed bow off the template.


8. Trim the ends to your preferred length. I like them when the bow legs are about the same length as the loops, but sometimes it’s fun to play with the bow’s proportions!

Here is an animated summary of the steps to give you an idea of the overall movement.

8. Finally, seal the cut edges of the bow ends, lightly bring the raw ribbon edge to a flame from a lighter or candle to melt any frayed threads together. The flame should just kiss the ribbon edge. Please handle any flames carefully! I recommend doing this over a sink with some water in it for added safety. Fray check is another alternative to keep the ends of your new bow tidy through wash and wear.

Now you can attach the bow to your bra or other lingerie! Here we added the orange bow to our Boylston bra.

Fun tip: you can make two-colored bows, using the exact same method but with a double layer of ribbon!

If buying this tool isn’t in your budget but you’d still like to make your own bows, you can get away with using a large dinner fork instead! Just hold the fork with the tines pointing down and use the tines as the template. It won’t be quite as easy but with a little practice the results will be almost the same.

Just a word of warning: bow tying is addictive!